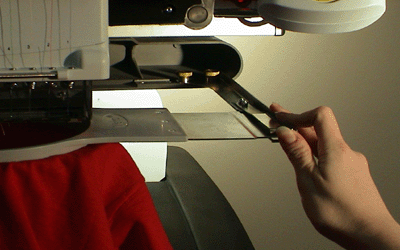
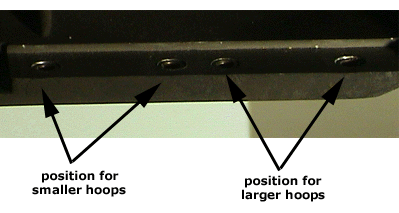
First, attach the tubular frame support arms to the proper holes on the X-carriage of the machine for the selected hoop size. There is a support arm position for smaller hoops (inside two holes) and a support arm position for larger hoops (outside two holes). (See the image below, which shows the positions for the right support arm).
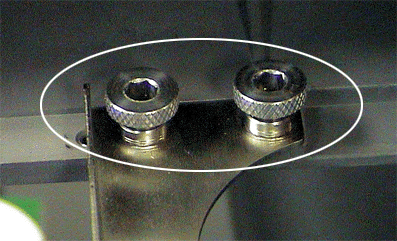
Use two thumb screws for each support arm. Note that your machine will either have brass thumbscrews or stainless steel thumbscrews (depicted here).
Make sure the clips on the ends where the tubular frame will attach are facing up. The sides of the arms should face outward. This will ensure the brackets are attached to the correct side of the carriage. Also make sure both clips are attached securely to the arms.
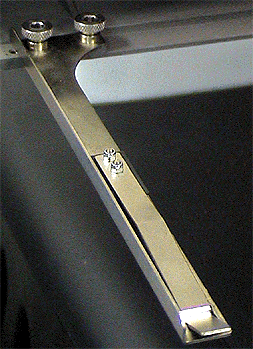
Tighten the thumbscrews securely - If your machine has brass thumbscrews, use a screwdriver to tighten them. If your machine has stainless steel thumbscrews, use a 6mm hex wrench to tighten them.
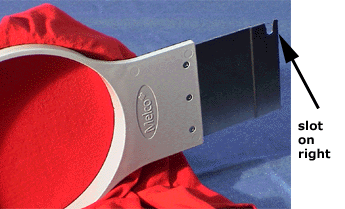
To insert the hoop on the machine, make sure the slotted bracket is to the right as you are facing the machine.
Slide the side brackets underneath the spring clips on the support arms.
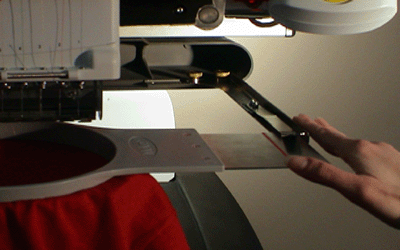
Slide the hoop towards the rear of the machine until it snaps into place and the brackets are fully seated beneath the spring clips.
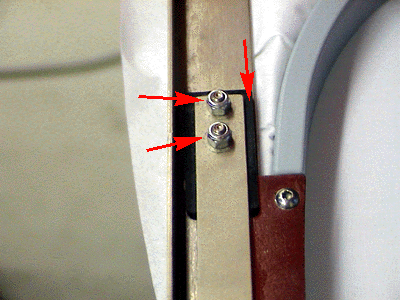
At this point, once you have a hoop installed, you should make sure both clips are attached securely to the arms. If either side of the hoop can move front to back underneath the clip, the clip needs to be adjusted. To do this, use a 5mm Hex nut driver to loosen the two nuts holding the clip in place, then push the block underneath the clip as far forward as it will go. Hold the block in place while tightening the nuts.
Run your fingers around the hoop’s perimeter to ensure that sleeves, collars, zippers or other garment parts are not inadvertently under the hoop.
You are now ready to sew a design.
To take the hoop off the machine, lift the side bracket clips and pull the hoop forward until the hoop is released.
