Designs with a vector line with specific properties added in DesignShop can be scaled and rotated using the procedure for Laser Design Registration. This can be a useful tool when creating multimedia designs in which specific reference points would be required. It can also be used when adjust designs to fit within panels on a garment such as a sports uniform.
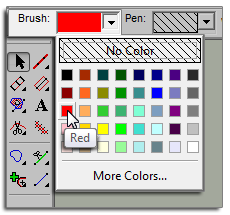
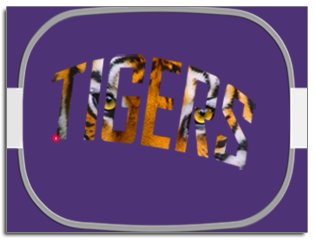
For a design to be scalable in AOS, it must contain a vector line element with the brush color of "Red" and a pen color can be any color.
![]()
If you're not sure which color swatch is "Red", hover over the swatches in the drop-down palette to see the name of the colors. The vector line must use these exact properties to work for the scaling feature.
|
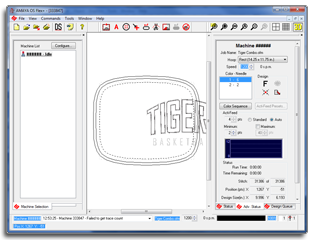
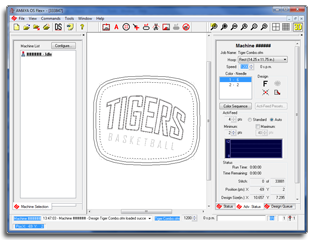
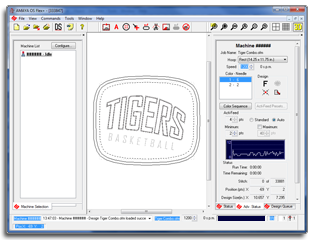
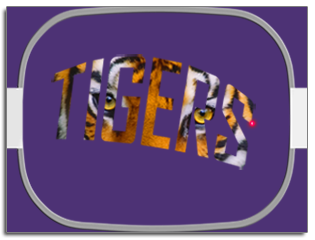
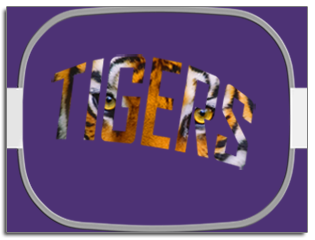
Find two points in your design that you want to use as reference points. These points can be inside or outside of the stitching area, but they need to be within the hoop limits of the hoop you are planning on using to embroidery the design. They line between them can also be at any angle. You may want to consider the application for which you are planning on using the design. If you are going to be lining up to a horizontal line in a garment, you may want to place your reference points on a horizontal line. If you are lining up embroidery to a screenprint or digital print on a garment, you may want to have the image in the behind your embroidery in DesignShop. This way, you can find distinctive features in the print to line up with. In the example below, print will be combined with embroidery to create a multimedia design. Using points that are farther apart will help with accuracy when scaling or rotating on the AMAYA. Points that are closer together are more affected by slight differences in how the operator references these points on the machine. Using a the vector line tool, create a vector line between your two chosen reference points. Once an embroidery file has the vector line with Red for the brush color, the file can be sent from DesignShop to the AMAYA through File>Machine>Load Design.
|
 |
|
A print design |
|
 |
|
|
and an embroidery design |
|
 |
|
|
can be lined up and combined on one garment. |
In the example below, the embroidery elements of the design were hidden to make it easier to find reference points on the print. The vector line was input with the point on the left first, then the point on the right. Notice that the points fall on sharp corners in the print. This will make them easier to line up to with the final print on the AMAYA.

Now that the design is set up with the vector line and loaded to your AMAYA, you can use the laser registration feature to rotate and scale the design.
In the example below, to better fit a larger garment the print was slightly enlarged from the original design file. The garment was also not hooped as straight and level as it could have been. Laser Registration can be used to compensate for both issues.
|
|
|
Using the hoop and the arrow keys on the AMAYA keypad, move the hoop on the machine so that the laser light is on the first reference point on the garment. In the example, the vector line was digitized with the left input point first. This is the first reference point.
Once the laser is lined up to the first reference point, press the laser and left keys on the AMAYA keypad at the same time. The machine will give an audible signal of two short beeps indicating that the first point has been entered.
|
|
 |
Now that the first point has been entered, use the hoop and the arrow keys on the AMAYA keypad to move the hoop on the machine so that the laser light is on the second reference point on the garment. In the example, the vector line was digitized with the left input point first. This is the first reference point.
Once the laser is lined up to the second reference point, press the laser and left keys on the AMAYA keypad at the same time. The machine will give an audible signal of two short beeps indicating that the second point has been entered.
|
|
 |
Lastly, press the laser and center (bullseye) keys simultaniously on the AMAYA keypad. The machine will give the same two short beeps again, and AMAYA OS will process the information. It will reload, scale, rotate, and reposition the design in the hoop to match the reference points entered.
|
|
 |
The design can now be traced and sewn.
|
|
 |