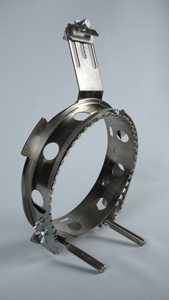
The process of hooping a cap onto a WACF is described in the following sections.
The WACF model works with all cap styles, but has been optimized for ease of hooping today's more aggressively structured caps.
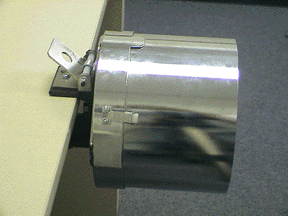
To install the cap hooping gauge to a table or other solid surface, slide the gauge's clamp over the table edge and tighten the clamp screw until the gauge is held firmly. The figure below shows a mounted cap frame gauge.
- Attach the cap hooping gauge to a stable surface. Rotate the gauge so that the locating tab is facing up.
|
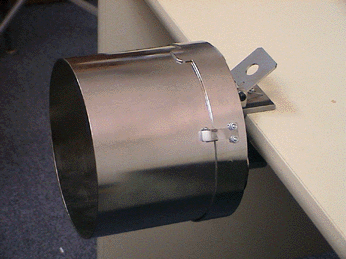 |
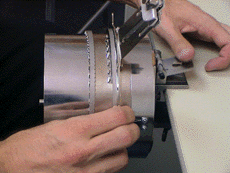
- Now, slide the cap frame onto the gauge, making sure the locating tab on the cap gauge fits into the notch in the cap frame, and that the cap frame slips firmly under the two roller clips.
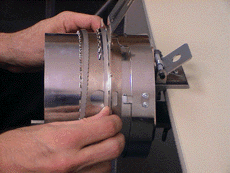
At any time during the cap hooping process, the hooping gauge may be rotated by depressing the lock actuator. The gauge can then be rotated to a better position for the work being performed. Release the lock actuator to lock the gauge in its new position.
|
 |
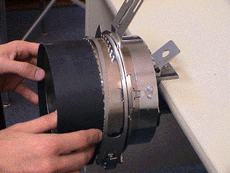
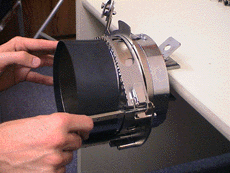
- If desired, the rubber strip included with the gauge may be used to provide spacing and enhance hoop tension. Drape the strip over the gauge placing the ends BETWEEN these clip posts and the cap gauge.
|
 |
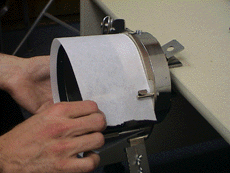
- Appropriate backing can now be placed over the gauge. The backing stays OUTSIDE the clip posts and inside of the strap hinge and latching posts. You may use several layers of backing if desired.
|
 |
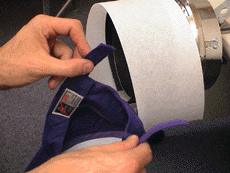
- Next, prepare the cap for sewing. Open the back strap.
|
 |
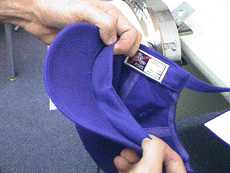
- Lower the sweatband completely.
|
 |
- If the cap has a braid, move it around the cap to the inside and under the brim. If the braid has a tail on the inside, trim it short to keep it clear of embroidery. Leave only about 1/4" of braid from where it's sewn to the cap
|
|
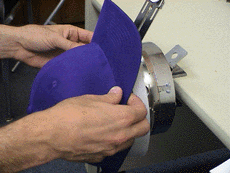
- Now slide the cap onto the cap frame. The brim should be centered over the bill support arm, and the back of the cap should ride over the two tall clipping posts.
|
 |
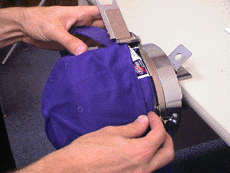
- Pull the side of the sweatband toward the cap frame and down, inserting the material within the strap hinge post. Remember the hooping gauge can be rotated if desired.
- Smooth any "bunching" of the cap sides or sweatband.
|
 |
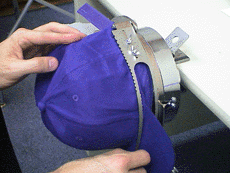
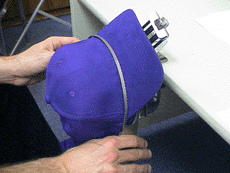
- Once the cap's left side is within the strap hinge post, swing the strap up and over the sweatband and the cap's brim.
|
 |
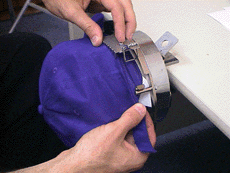
- Rotating the gauge if desired, slip the cap's right side within the latch post, and smooth any "bunching" of the cap sides or sweatband.
|
 |
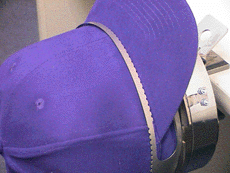
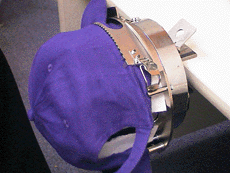
- Close the strap, making sure the teeth of the upper portion bite into the brim seam. If the bill has moved from the center position, adjust the cap under the strap.
|
 |
- Hook the latch into the hook on the latch post.
|
|
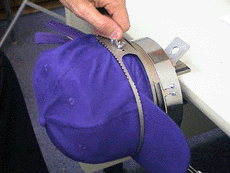
- If the cap frame's strap is not tight enough - or is too tight, loosen the two wing nuts on the cap's left side and slide the strap in or out as necessary before re-tightening the wing nuts.
|
 |
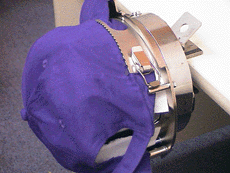
- Snap the latch closed
|
 |
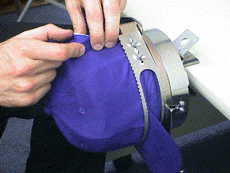
- Smooth the cap material backward, and over the clipping posts on either side.
|
 |
- Indent the cap material (and the backing) on the front face of the clipping post.
|
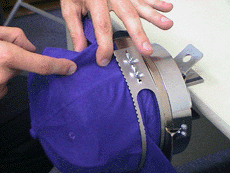 |
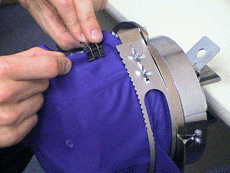
- While pressing the cap material, snap a clip over the clipping post. Orientate the clip handles toward the cap's back.
|
 |
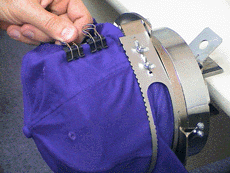
- Repeat with a second clip if the cap is tall enough.
|
 |
- Repeat the last three steps for the other side of the cap.
|
|
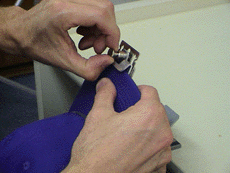
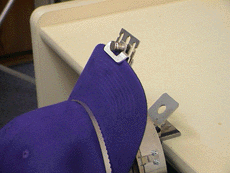
- Rotate the gauge so the bill clamp is oriented up. Wrap your hand around the bill support arm, and press the bill to the arm using your thumb.
|
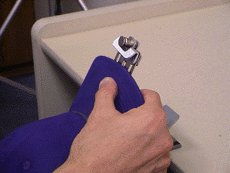 |
- Pull the bill clamp's knob and slide the clamp down, over the end of the bill. Release the knob to lock it in position. This will secure the bill to the support arm.
 CAUTION: DO NOT leave the bill clamp locked in the hooping position on the end of the bill support arm, as it will interfere with the cap frame driver operation. CAUTION: DO NOT leave the bill clamp locked in the hooping position on the end of the bill support arm, as it will interfere with the cap frame driver operation.
|
 |
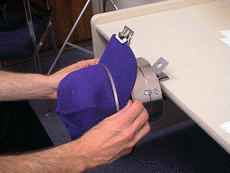
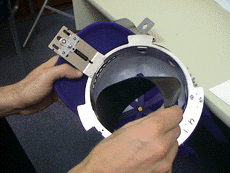
- You may now remove the cap frame from the gauge. Remember to remove the rubber strip if it was used.
|
 |
