Hooping a Cap with the XTS Wide Angle Cap Frame

The process for hooping a cap with XTS WACF is the same for almost any type of cap you are hooping.

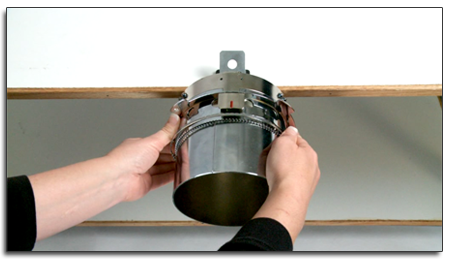
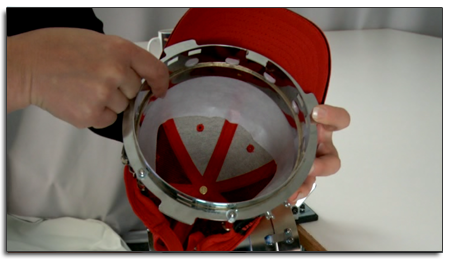
Hooping with the XTS WACF

Loading and Removing the XTS WACF

Shown on the Graphite Wide Angle Driver
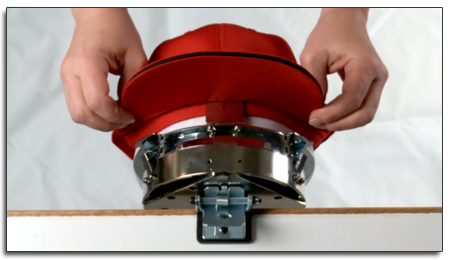


  1. Slide the cap frame onto the cap gauge. Make sure the locating tab on the cap gauge fits into the cap frame’s notch and the cap frame slips firmly under the two roller clips.

XTS_cap_hoop_01.png

  1. Swing the metal strap open.


  1. Appropriate backing can now be placed over the gauge – we recommend using the tear-away cap backing when sewing caps. You will need to use enough backing so that the backing covers the embroidery application area.

XTS_cap_hoop_02.png

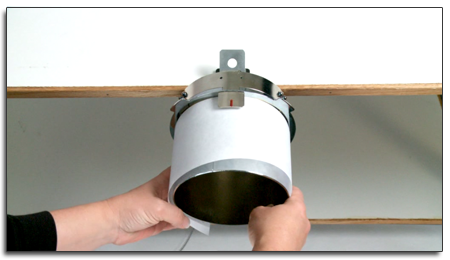
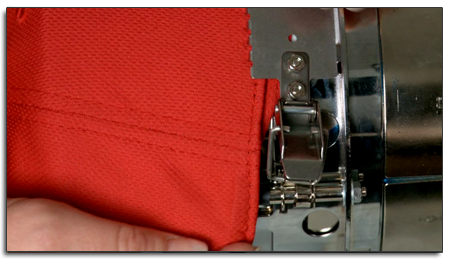
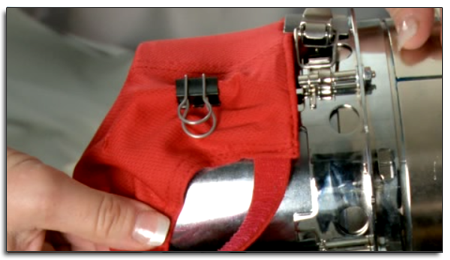
If the embroidery is on the sides of the cap, make sure that the backing is long enough to stay inside the strap hinge latching post. This will ensure the entire cap sewing field has backing. Some caps may require this.

XTS_cap_hoop_03.png

  1. Prepare the cap for sewing. If the cap has a piece of cardboard, remove it and smooth the sweatband out as much as possible. Near the back of the cap, the sweatband may be sewn into the cap. At this point, it may need to be folded a bit to fit in the frame.

XTS_cap_hoop_04.png

If the cap has a braid, move it around the cap to the inside and under the brim.


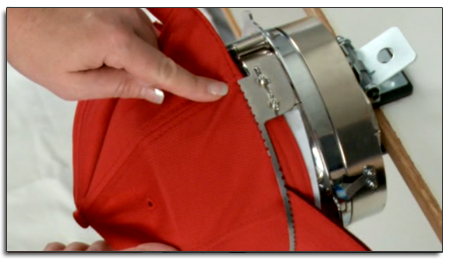
Flatten the bill as much as possible. This will make hooping and sewing the cap much easier.  After the cap is embroidered, the bill can be reshaped.

XTS_cap_hoop_05.png

  1. Now, slide the cap on to the cap frame. The brim should be pushed against the bill-stop on the frame. The bill should also be relatively centered on the frame. The centering mark on bill stop can be used for reference.

XTS_cap_hoop_06.png

  1. The cap should ride over the two clip posts towards the bottom of each side  of the frame.


  1. Pull the side of the sweatband toward the cap frame and down, and smooth any bunching of the cap sides or sweatband. You may eventually need to fold the sweatband a bit to avoid the latching hook, but this will help with the placement of the cap on the frame. Watch to make sure the backing is still in place.

XTS_cap_hoop_07.png

  1. When the left side of the cap is within the strap's hinge post, swing the strap up and over the cap brim. On the sides of the cap, the teeth of the strap should fall just above the seam attaching the sweatband to the cap.


  1. Continue bringing the strap around the front of the cap. On the front of the cap, the teeth of the strap should fall into the seam for the brim.

XTS_cap_hoop_08.png

  1. Hook the latch on the strap into the hook on the latch post. You may need to fold or adjust the sweatband of the cap slightly to accommodate the hook and latch.

XTS_cap_hoop_09.png

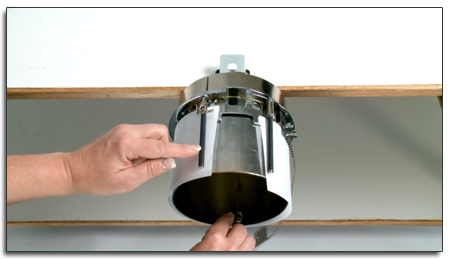
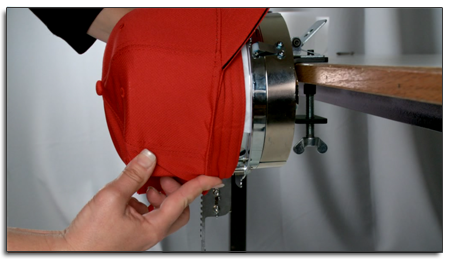
If the cap has turned and is no longer centered, the cap position can be adjusted before latching the buckle.


  1. The cap frame strap may need to be adjusted if it does not fit the cap snugly.


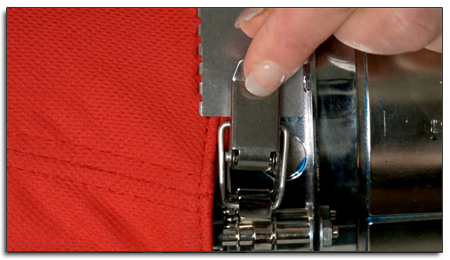
To adjust the cap frame strap, loosen the two wing nuts on the caps left side. Then push the strap down against the cap brim moving from the latch toward the wing nuts so that is very snug to the cap. Slide the strap toward the wind nut to remove the excess.

XTS_cap_hoop_10.png

  1. Re-tighten the wings nuts while holding the strap tight against the cap.


Adjusting this strap is only necessary when hooping a different style of cap for the first time using the cap frame


  1. Smooth down the lower part of the cap while snapping the buckle closed.  The buckle should be tight.

XTS_cap_hoop_11.png

  1. If sewing on the sides of the cap, smooth the cap material backward and over the clip posts on both sides.  Indent the cap material along the clip posts.


  1. While pressing the cap material, snap a clip over the clip posts.  Orient the clip handles towards the caps back.

XTS_cap_hoop_12.png

Note:  These are only necessary when sewing the sides of the cap or if the cap is unstructured.


  1. You may now remove the cap frame from the gauge.  


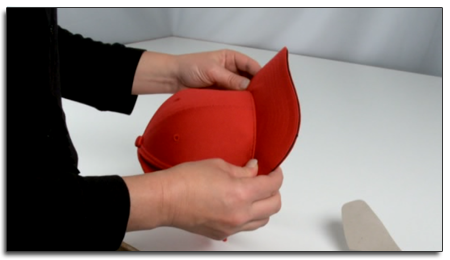
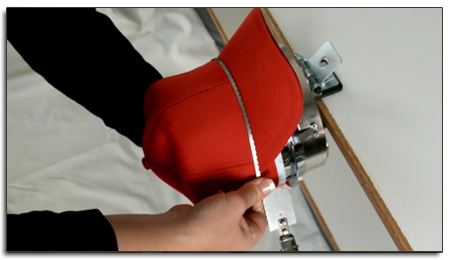
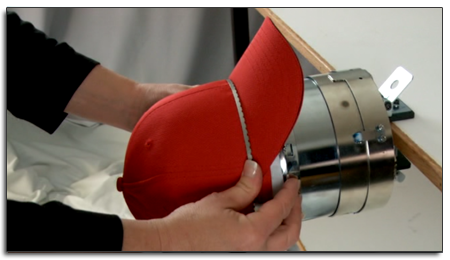
To do this, place the palms of your hands on the gauge and put your fingers on the frame, then pull your fingers to your palms until the cap releases from the gauge.  There should be some resistance when pulling the cap frame off the gauge.  If there is not, then the cap frame strap has either not been positioned correctly or is too loose.  Check and re-hoop if necessary.

XTS_cap_hoop_13.png

Look at the inside of the cap to make sure the backing is not bunched as well as covers the area to be embroidered.

XTS_cap_hoop_14.png

The cap is now ready to be placed on the cap frame driver on the machine.