(Available in Pro+ only)
Shadow Effects is a tool that allows you to create shadows for your design. This tool is used primarily with lettering but works with all designs.
To use Shadow Effects:
Open or create your design. The design or an element of the design must be selected before Shadow Effects is enabled.
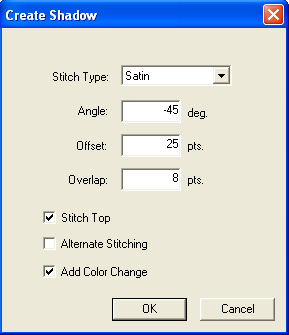
Go to Object->Shadow... The following dialog box appears:
You can choose Satin or Fill for the stitch type. If you choose Fill, this allows you to use any pattern of fill for your shadow effect. See Related Topics below for how to obtain a new fill pattern.
Set the Angle, Offset, and Overlap measurements for your shadow effect.
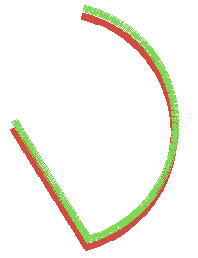
Angle is the angle at which the shadow effect slants behind your design. This is an example of -100 degrees for your angle:
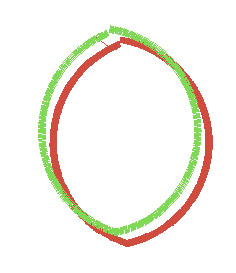
Offset is how offset the shadow is from your original design. This is an example of 50 points offset:
Overlap is how much the shadow effect overlaps the design. You can zoom in to see the overlapping. This is 20 points overlap:
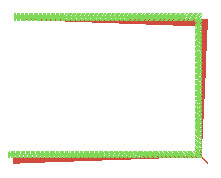
If Stitch Top is not selected, the only stitches will be the shadow stitches. If it is selected, then there will be top and bottom stitches to create the shadow effect. Below is an example of shadow effects without Stitch Top selected:
If you click Alternate
Stitching your design's colors will alternate. The effect will
look like this: 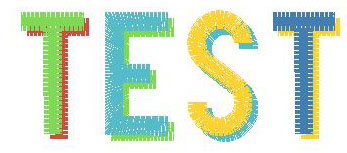
Add Color Change
is selected by default. Having this checked makes the shadow effect look
like this: 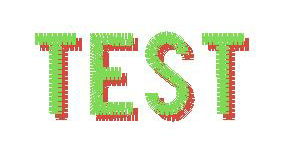
Click OK to apply your shadow effects.
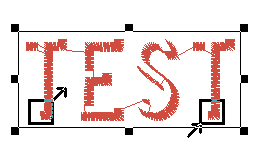
If you reposition the shadow effect letters, the feature automatically repositions the letters and their stitches underneath to compensate for the way you moved the shadow effects lettering.
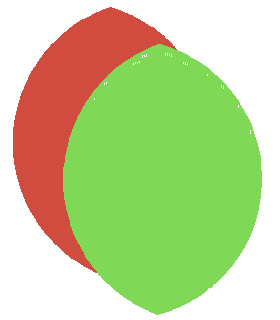
An example of using Shadow Effects with a shape:
![]()