![]()
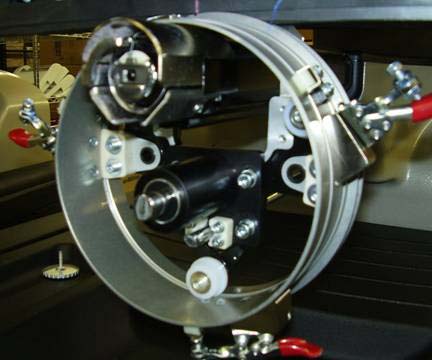
If you receive multiple machines, and the WACF drivers were ordered together with these machines, each driver will be specifically adjusted to one machine. The serial number of the machine the driver is adjusted to will be noted on the installation note in the driver box and on a serial number label on the driver ring as shown below.

1. Open the AMAYA OS software and turn on the AMAYA machine.
2. After the machine has gone through its initialization sequence, select the XT Wide Angle Cap Frame hoop (WACF), from the hoop selection menu.
3. Then click on the center hoop button ![]() . The hoop will center.
. The hoop will center.
4. Remove the tubular frame support arms from the machine.
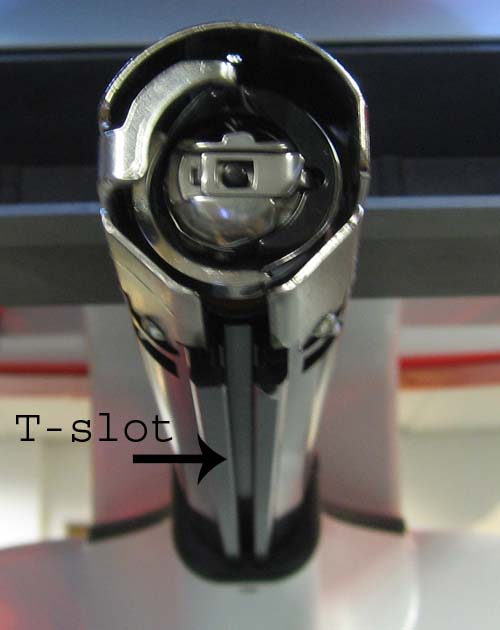
5. Locate the T-Slot on the underside of the lower arm extrusion as shown below.

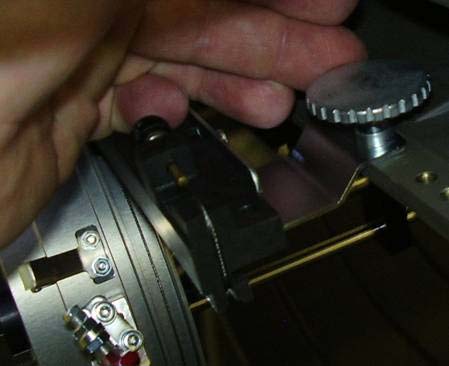
6. On the cap driver, locate the T-nut above the driver shaft. Loosen the thumbscrews on the front and back of the rail. Loosen the screws just enough to slide the T-nut down the T-slot on the lower arm. Be careful not to fully unscrew the thumbscrews as they can be difficult to re-install.
7. Insert the T-nut in the T-slot and push the cantilever back until it hits a hard stop.
8. Tighten the thumbscrews. Be sure not to over tighten as this may cause damage to your machine.
9. Slide the driver ring on to the cantilever via the cantilever guide rails.

10. Slide the ring all the way back
11. Connect the driver ring via the interface bracket to the x-carriage using the two thumbscrews that came with your driver.

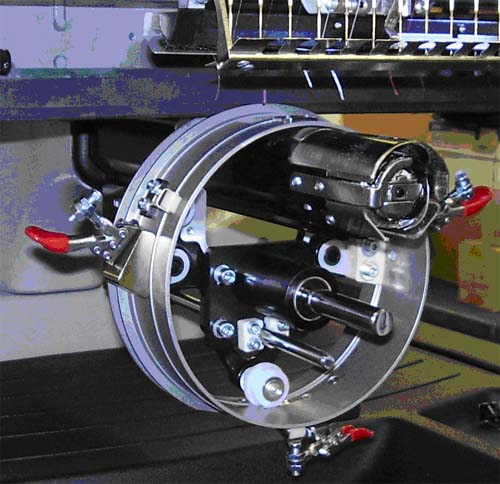
12. The completed installation should look like this:
