![]()
The Amaya XT and Bravo trimmer home fixture, PN 33283, is used to set the knife and selector home positions and to align the trimmer housing.
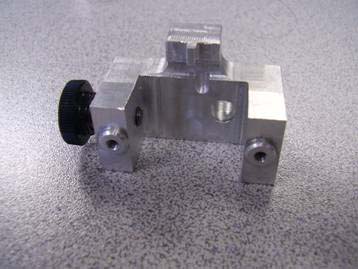
Follow the instructions below to correctly install and adjust these settings.
1. Turn the machine off and remove the needle plate, PN 33111, and the Extrusion Cover, PN 32882.
2. Locate the trimmer home fixture in the needle plate mounting holes as shown below. The back of the fixture locates between the two trimmer push-pull cables. Make sure that the thumbscrew on the side of the fixture does not contact the trimmer housing during initial assembly to the lower arm.
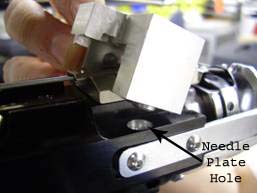
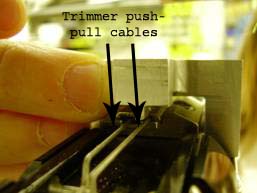
3. Using the two M3 needle plate mounting screws, assemble the fixture to the lower arm as shown below. Lightly tighten the two screws.
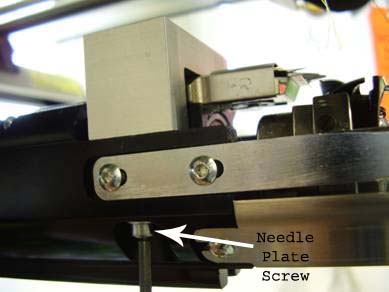
Caution: If the fixture does not seat flat against the lower arm, the knife carrier and/or selector may be interfering with it. In this case, the home positions are too far out of adjustment. Remove the rear lower arm cover and loosen the trimmer cable block screws (refer to step 7). Move the cables until the selector and/or knife carrier no longer interferes with the fixture as shown in the picture below. Make sure that the fixture seats flat against the lower arm.
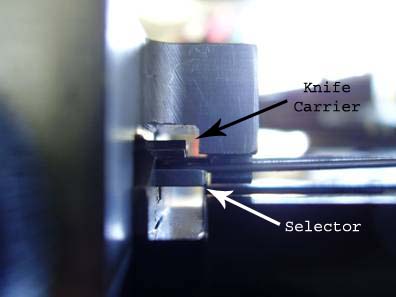
4. Locate the access hole in the top of the trimmer fixture. Using a 2.5mm bent Allen wrench, completely loosen the M3 trimmer housing screw, but do not remove. Check that the trimmer housing moves freely by hand.
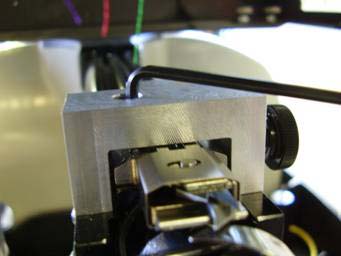
5. Finger tighten the thumbscrew on the side of the fixture. This aligns the trimmer housing parallel to the lower arm. Re-tighten the M3 trimmer housing screw and then loosen the thumbscrew on the fixture.
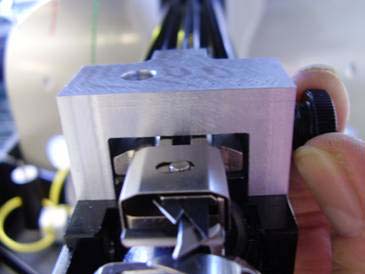
6. Check the location of the knife carrier and selector in relation to the stops near the back of the fixture.
Note: If the knife and selector both contact the stops on the fixture as shown below, the homes are set correctly. Go to step 9.
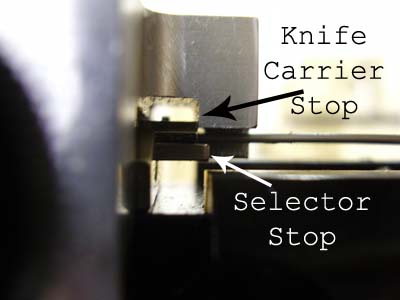
7. Remove the rear lower arm cover, and loosen one or both cable trimmer block screws as required. Rotate the trimmer eccentric (counter clockwise, knife side; clockwise, selector side) until it stops against the trimmer bracket. Move the cable(s) until the knife carrier and/or selector contacts the fixture stop(s) as shown in the above picture. Tighten the cable trimmer block screw(s) (do NOT over-tighten) and assemble the lower arm cover.
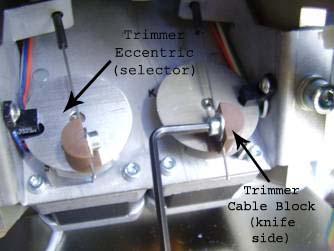
8. Remove the trimmer fixture and re-assemble the extrusion cover and needle plate. The selector and knife home position and alignment are now set correctly to factory specifications.
The current Trimmer Cable Block clamps the selector and knife cables by means of a round washer and a screw engaged directly into the cable block. Potential problems with this design are the block stripping out (as mentioned above) and difficulty in maintaining accurate home positions during the tightening of the screws due to the fact that the round washer will rotate and move the cable.
The new Trimmer Cable Block (PN: 32952-02) now has a clearance hole for a screw and nut combination. The round washer has been replaced by a “D-Washer” eliminating the potential movement of the cables when tightening the securing screw. This is intended to reduce the possibility of the Cutter and Selector Home positions changing while tightening the securing screw and it simplifies the home setting process.
The following pictures show the new Trimmer Cable Block and the orientation of the D washer:

Trimmer Cable Block
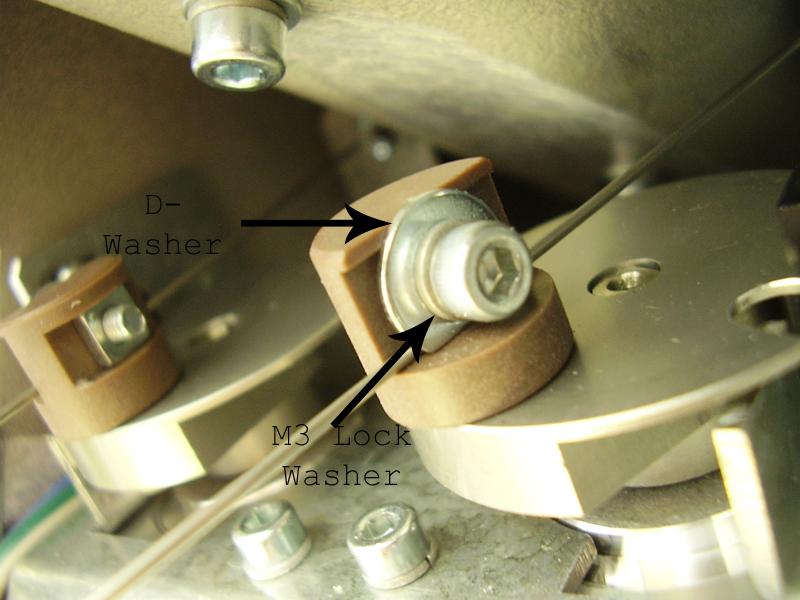
Orientation of the D washer
To install the new Trimmer Cable Block, the following parts are required:
32952-02 Trimmer Cable Block Qty: 2
010170-10 Screw, M3 x 0.5 x 10mm, Socket Head Cap Qty: 2
33478 Washer, D, M3 Qty: 2
690427-03 Washer, Lock, M3 Qty: 2
33554 Nut, Square, M3 Qty: 2
1. Remove the old Trimmer Cable Blocks, screws, and washers. The retaining ring (PN: 33035) will be used again for the installation of the new Trimmer Cable Blocks.
2. Install the new Trimmer Cable Blocks and hardware as shown in the picture below.
3. Set the Knife and Selector homes per the Technical Manual or AMAYA TAB055B.
4. Torque the screws to 5 in-lbs (0.6 Nm) to complete the installation.