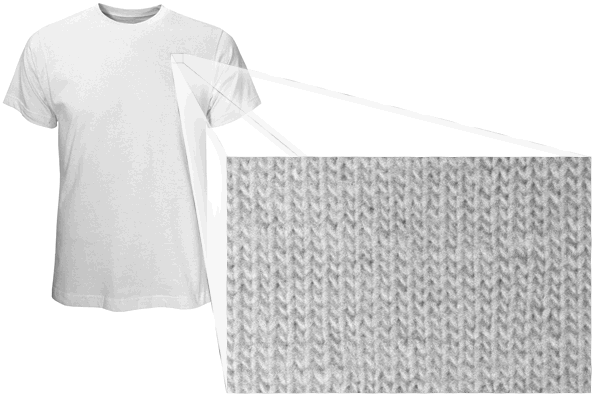
The purpose of pretreatment is to create a flat smooth surface on your garment so that ink can be applied to and adhere to the garment with the least amount of distortion in the print due to imperfections in the textile itself. Keep in mind that all textiles have some amount of fuzz or lint on their surface. Also, as all textiles are an interlacing of fabric (of some kind), so the surface of the garment has many valleys and gaps (even if you cannot see them). The ink that is being applied to the garment is being done on a very small scale, meaning that the ink droplets themselves can fall into those imperfections on the textile creating a less than quality printed image to the naked eye. This is why prints on paper can appear so photo realistic while a print on a wool blanket would not retain the same level of crisp clarity that the same print would on a smooth surface (piece of paper). This is due to the nature of the material itself and it's overall surface properties when ink sits on top of it and drys.
In addition to the indentations in fabric (the valleys and gaps due to the weave of the fabric) it is also possible that the fuzz from the textile itself may sit on top of the garment creating little mountains of fuzz. This can create that same distorted effect when printing.
The key to pretreatment is:
Pre-treatment is generally used in dark garment printing. As discussed in the Process Printing section, the color of the material that you are printing on will impact the final appearance of the print because direct to garment printing uses a subtractive color model. This means that in order to obtain the crispest colors possible on a dark garment, you need to create a white background on the garment. As discussed in the general section, all textiles have imperfections in their surface where ink can fall and distort the final image to the naked eye. In order to avoid this you need to create both a smooth surface to print your white background on and a surface with some additional adhesive qualities. The solution is to use pre-treatment in your dark garment printing process.
You should have a well ventilated room, a large flat surface for prep, and a container for your pretreatment solution.
Lightly apply the pre-treatment solution to the shirt using the roller provided. Make sure that the print area becomes visibly damp, but not overly saturated. As long as total coverage is achieved, less pre-treatment is better for wash fastness and color vibrancy than too much pre-treatment.
Note: excess pretreatment will come out after the shirt is washed.
Some color garments such as bright orange, lime green and hot pink have dyes that react with heat; the dye migrates and a bluish/reddish stain can be seen after the shirt is cured. To prevent this, you need to follow the following steps: