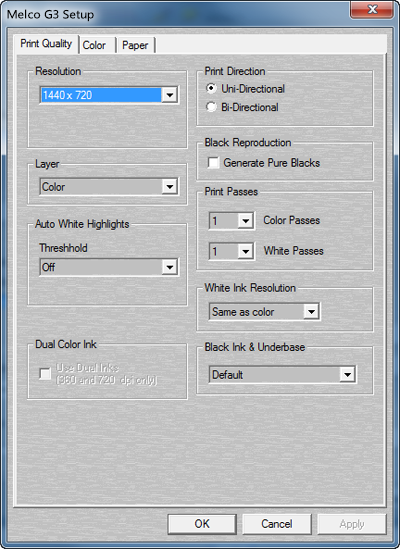
There are several sections in MelcoRIP that enable you to specify job settings by clicking the “Specify Settings” button. This action invokes a printer-specific dialog which allows you to set resolution, media, color mode etc. Most of these settings are the same as the settings available at print time because they are in the PPDs.
Whether you are configuring a hot-folder, re-processing a job or manually inserting a Job in the queue, this procedure will be the same.
The options in this section usually pertain to resolution and other print-quality related settings as well as white ink settings.

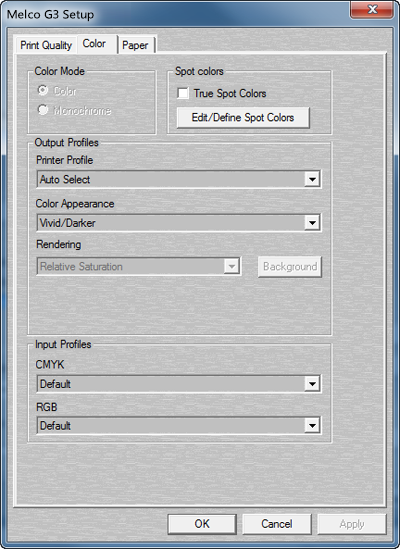
 Color Mode:
In MelcoRIP, Color Mode is locked into “Color” mode.
This section lets you specify the use of the “True Spot” feature. This feature recognizes named spot color in a job and applies a proprietary function to make the spot color appear as close as possible to it’s true color.
This button displays the spot color configuration dialog which will let the user define spot color definitions. This is sometimes necessary as PostScript separation files don’t always contain the definition of a spot color. This can also be used to override a spot color with a certain name.
The Spot Color Configuration dialog allows the addition/ deletion and modification of user-defined spot colors in CMYK, RGB or Lab color spaces. Simply select the color space you wish to work in by clicking one of the radio buttons on the upper right. This will display all user-defined spot colors (if any) that were defined in that particular mode. As you select the spot color name in the name window, the values will appear in the appro¬priate boxes on the right. These can then be edited. To delete a spot color, select it and click the delete button. To add a spot color, click the “Add Spot Color” button and follow the instruc¬tions.
This lets you select the profile to use when printing. MelcoRIP ships with all necessary ICMs for all supported printers and resolution/paper type combinations. These are used automatically by setting this option to “Auto Select”. This drop-down contains all the CMYK (in this case) ICMs that were found in the system. If you have created a custom profile you would like to use, you can select it here. To be able to select it at print-time from your applications, it must be added to the PPD. To do this, use the “Add ICM to PPD” utility which is located in the MelcoRIP program group. This utility is documented elsewhere in this manual. The best thing to remember when using this feature is: When in doubt, use Auto Select.
In the MelcoRIP, this function is grayed out and the rendering follows the “Color Appearance” Setting.
This lets you select the input profiles for CMYK and RGB. These drop-downs will list and let you choose any CMYK or RGB profile (ICM/ICC) found in the system. To add profiles to the MelcoRIP PPDs, use the “Add ICM to PPD” utility in the MelcoRIP program group.
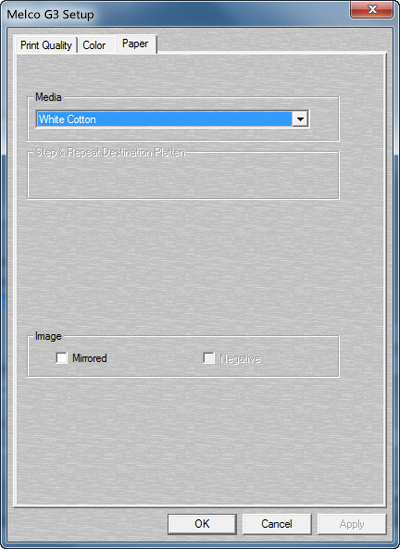
The Paper Tab allows for the selection of media and the mirroring of images on a print.
