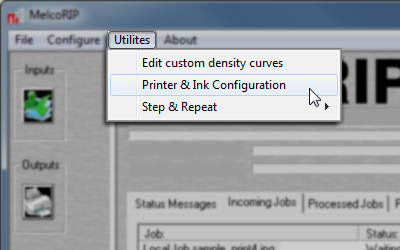
 Found by under
the Utilities menu, the Printer & Ink Configuration tab-dialog allows
for the adjustment of:
  Found by under
the Utilities menu, the Printer & Ink Configuration tab-dialog allows
for the adjustment of:
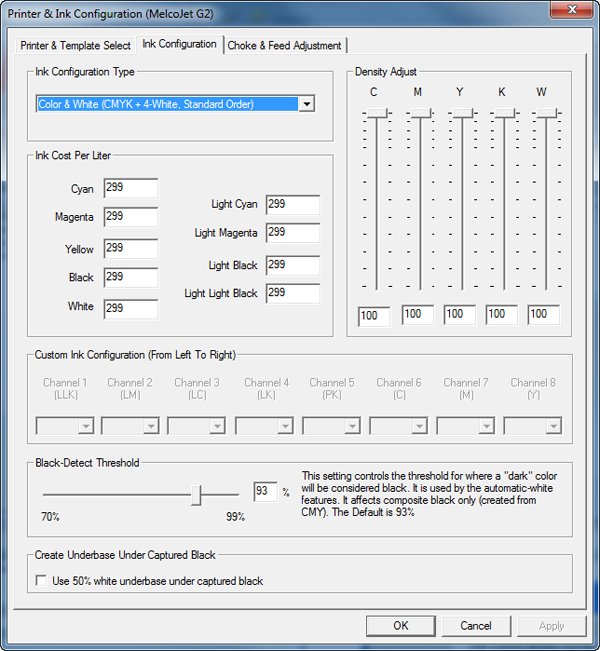
This dialog allows for the specification of the per-liter ink cost, the ink-channel density adjustment, the ink channel configuration and the custom-channel configuration (if selected)

These controls allow the user to turn down the overall density of a certain color. This differs from “Custom Density Calibration” in that this density calibration adjusts the endpoint and proportional lowers all levels. If using a custom-density curve, the Density Adjust will proportionally lower the entire curve. Unlike the selection of a difference size dot, this approach offers much more control over the print density and is easier to use.
This allows the user to specify the ink cost on a per-liter basis. If the ink is not purchased by the liter, multiply to properly identify the per-liter cost. If you buy ink in 250ml bottles, enter the bottle cost X 4, etc. The “Light” ink cost is not used.
The Ink Configuration Type tells MelcoRIP the order the ink cartridges are loaded in the printer.
This will be what most printers will be running. The “standard order” is CMYK in the CMYK channels and White ink in all the remaining channels.
For printers running no white ink (except Kiosk no-white). The standard order is CMYK in the CMYK channels, C in the LC channel, M in the LM channel, K in the LK channel and Y in the LLK channel.
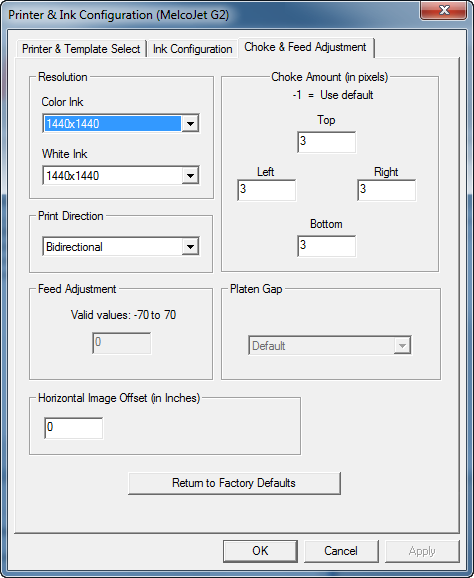
This dialog allows for the adjustment of the white choke and feed adjust.

Because of the sheer volume, the printer’s mechanical differences between resolutions and other factors, left “un-trimmed” the white layer will peek-out from underneath the color layer. to correct for this, a white-choke is applied to the white layer. The white choke “erodes” (removes) pixels from any edges in the graphic (around letters, etc.). The choke is measured in output-resolution pixels of the white layer. In the above example, for instance, the numbers are in 1/1440th of an inch.
Because the printer acts a bit different in bidirectional and uni-directional print modes, a different set of choke numbers is used for each.
Care must be taken to not over-choke as that will cause loss of detail.
MelcoRIP comes with default White Choke values which should be adequate for most users. If, for some reason, the user feels they must adjust the white choke, this can be done using this dialog.
The white choke values are stored according to the following settings: Color Resolution, White Resolution, Print Direction (uni/bi). Changing any of these parameters will invoke a new set of white choke numbers.
If only a bit of white is peeking from one side, just add a couple of pixels to the trim numbers. If you feel you want to enter a whole new set of values, it is recommended that it be done in this order:
1) Left & Right (adjust until satisfactory)
2) Bottom (adjust until satisfactory)
3) Top (adjust until satisfactory)
This adjustment is not available (or necessary) on all models. Do not confuse Feed Adjust with white choke. The feed adjust adjusts the overall length of the white layer.
Testing The Feed Adjust
To check the feed adjust, print a line of text (around 24 to 36 pints) at the very top AND at the very bottom of the max print area. Use Color Layer Auto-Mask layer type so it uses a white underbase. If the white/color registration is not the same on the top and the bottom, feed adjustment is necessary. Please contact your dealer for assistance with this procedure.