White Ink Settings
White Ink Control Tab
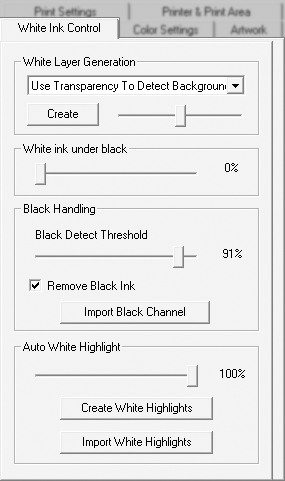 By far one
of the most important control sets, particularly in a white-capable product
is the white-ink generation and white ink controls. While creating print
jobs within MelcoRIP, you have the capablity to both automatically or
manually generate white-ink underbases. In addition, the ability to export,
touch-up and import the automatically generated white separation assures
that any artwork scenario can be successfully negotiated using this white
ink feature set.
White Layer Generation
The White Layer Generation drop-down specifies which white-ink generation
method will be used. The method chosen will depend on the artwork.
The create button initiates the white-layer creating cycle.
White ink density slider adjusts the density of the white layer. Slide
to the right for more density, to the left for less density
White Ink Under Black
Under some circumstances, it might be desirable to print white ink under
black ink (normally white ink is not printed under black). This slider
allows you to specify how much white ink to place under black ink. Normally
this will stay at zero.
The Remove Black Ink checkbox will remove black or very dark colors
from the color layer of an image when the underbase is created. This may
work well when printing on a black product, but black ink may be necessary
on other colors. If black ink is removed by mistake, simply uncheck the
box and create the white underbase again.
Black Handling
The black-detect threshold allows for adjusting the sensitivity of what
level of saturation a composite color is considered black. This slider
does essentially the same as the slider in the Printer & Ink Configuration
dialog except in the print-from workflow each graphic can use a different
black detect threshold.
Auto White Highlight
The density slider in the white highlight applies to the density of
the highlight, whether auto-created or manually imported. This is NOT
the same as the threshold for the automatically generated white highlight
in the print-to workflow.
When the Create White Highlight button is clicked, the software will
create a white highlight layer from all the areas where there is only
white and no color.
The Import White Highlight button allows for importing an artwork file
to be used as the white highlight layer. The graphics geometry of the
file must match the color layer (resolution, size horizontal and vertical
pixels, etc.).
White Layer Generation
It is important to understand that for a computer to automatically generate
a white layer, it must have a way to identify which pixels should have
white, white and color or no ink at all. There is no “magic” algorithm
which can perfectly generate the white ink every time regardless of artwork.
Ultimately, the only absolutely foolproof way is to generate the white
ink separation yourself. Having said that, Melco RIP has several automatic
and manual white generation features that should cover any conceivable
artwork scenario. It is important to know how they work so that the proper
method can be employed for a particular graphic. This section will show
some samples that can be used as a guide, along with an explanation of
each method.
The layer types in available are: ShowHide
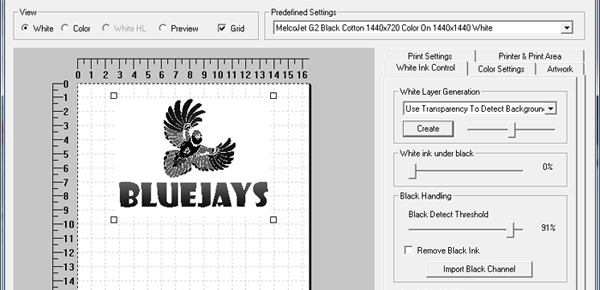
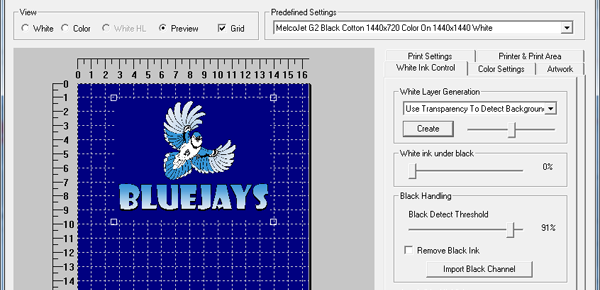
Use Transparency To Detect Background 
Probably the most versatile method. This method, as the name suggests,
uses the transparent background of an image to generate the white. The
image MUST have a transparent background for this method to work.

|
The original artwork as viewed in a graphics
program.
The transparent background is
represented by a gray and white checkered background. |

|

|
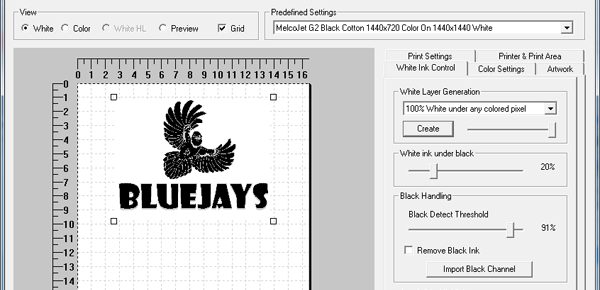
The White Layer is generated when the create
button is clicked. Any really dark or black pixels get the amount
of underbase specified by the "White ink under black"
slider. |

|

|
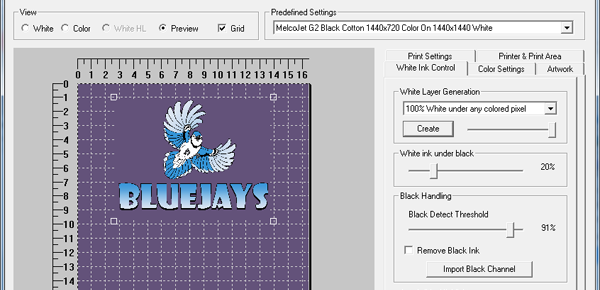
Using the preview view button, an approximation
of the final product can be seen. |
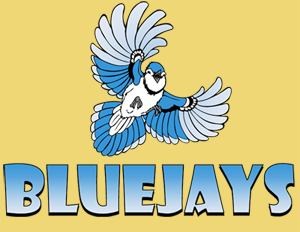
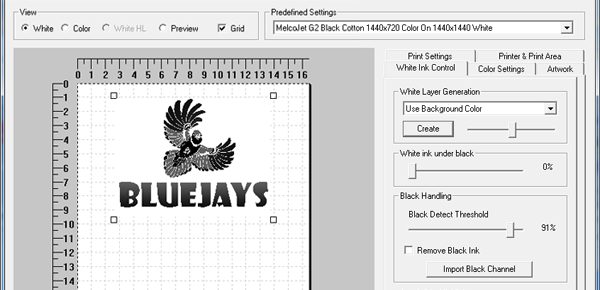
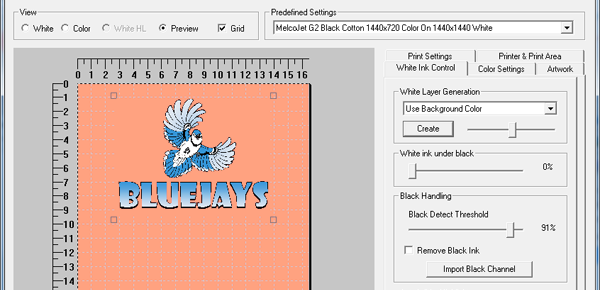
Use Background Color 
Similar to the “Use Transparency” method except that it uses the background
color. The color of the background is determined by the upper left pixel.
It could be the color of the cotton to be used (yellow, for instance)
or a color not used anywhere else in the graphic. Either way, the background
color will be “punched out” (removed) from the graphic in both the white
underbase and the color layer.

|
The original artwork as viewed in a graphics
program.
The background is a solid yellow. To avoid printing a yellow rectangle
on the product, Use Background
Color will be used to generate the white layer and remove
the yellow from the graphic. |

|

|
The White Layer is generated when the create
button is clicked. Any really dark or black pixels get the amount
of underbase specified by the "White ink under black"
slider. |

|

|
When the white layer is created, the background
color is also removed from the color layer. |

|

|
Using the preview view button, an approximation
of the final product can be seen. |
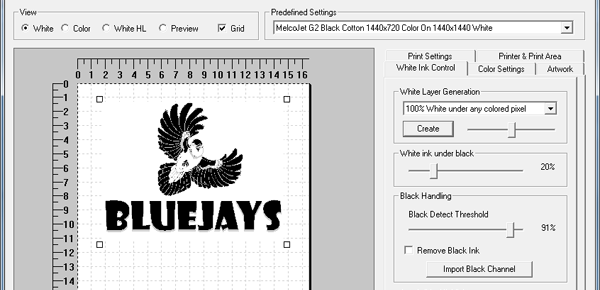
100% White Under Any Colored Pixel 
Places 100% white underbase under any colored pixel. White ink will
not be placed under any pure white pixels. This is mostly used for solid
artwork. If the artwork has white areas that you wish to print in white,
add a small amount of color ink to make the 100% white appear. Adding
1% yellow to the white areas of the bird, for instance, will allow those
areas to print. Also, if you use this method on artwork that fades into
the background, it might create a white “halo” around the image.

|
The original artwork as viewed in a graphics
program.
The background is a solid pure
white, and a slight 1% cyan tint has been added to the white of
the bird. |

|

|
The White Layer is generated when the create
button is clicked. Any color pixel gets a solid white underbase.
Any really dark or black pixels get the amount of underbase specified
by the "White ink under black" slider. Pure white pixels
get no underbase at all. |

|

|
Using the preview view button, an approximation
of the final product can be seen. |
Underbase Entire Image 
Simply puts a white pixel under every pixel in the image, white or otherwise.
Used mostly for full-frame photographs, etc.

|
The original artwork as viewed in a graphics
program. |

|

|
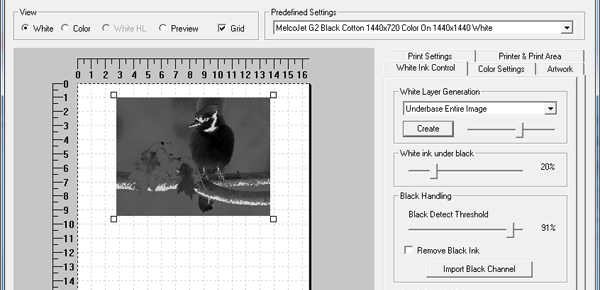
The White Layer is generated when the create
button is clicked. The underbase is a grayscale underbase. Any
really dark or black pixels get the amount of underbase specified
by the "White ink under black" slider. |

|

|
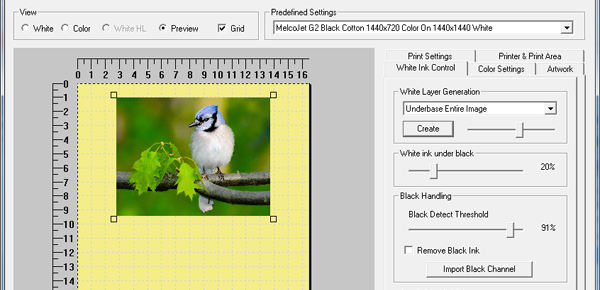
Using the preview view button, an approximation
of the final product can be seen. |
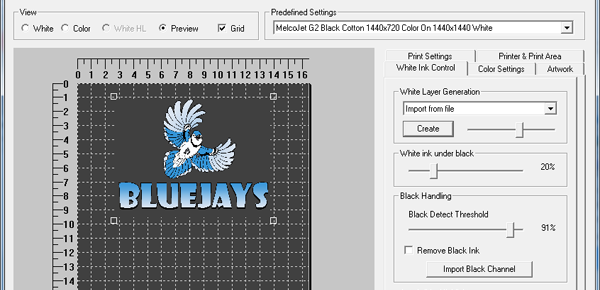
Import From File 
This method allows the user to import a white layer from a separate
file. The image must be of the same size (pixels width and height) as
well as depth (bits per pixel). If a color file is imported for the white
layer, it will be converted to grayscale then used as the mask.
 
|
The original artwork file and manually created
underbase file as viewed in a graphics program. |

|

|
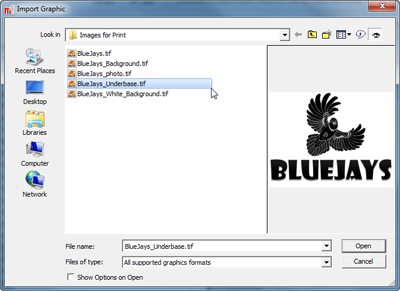
Clicking on Create will bring up an import
graphic window. Navigate to the underbase file created in a graphics
program. Click Open". |

|

|
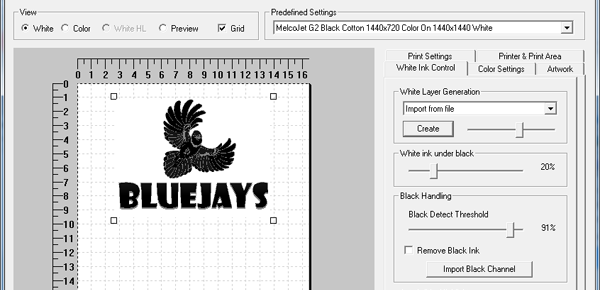
The manually created underbase will be brought
into the Create Job window. If the pixel dimensions are identical
to the color layer, the underbase will line up. |

|

|
Using the preview view button, an approximation
of the final product can be seen. |
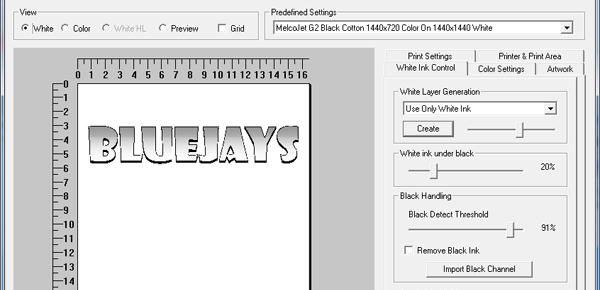
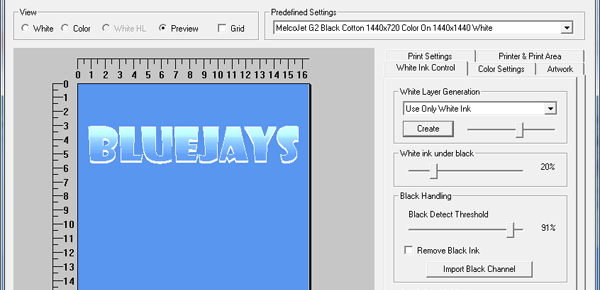
Use Only White Ink 
This method is used for printing only white ink. A white logo or white
text on a dark shirt, for instance. Simply import a file and it will be
converted to monochrome and rendered using only white ink.

|
The original artwork as viewed in a graphics
program.
It is completely done in grayscale and the background is
a solid pure white. |

|

|
The White Layer is generated when the create
button is clicked. With "Use Only White Ink" selected,
clicking Create will also remove the color layer completely. |

|

|
Using the preview view button, an approximation
of the final product can be seen. |
Touching Up the White
Ink Layer
One of the great features of MelcoRIP is the ability to export the automatically
generated white layer, edit it and import it back in.
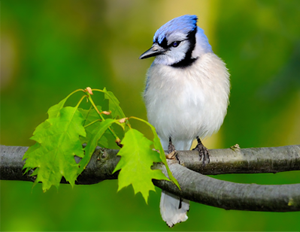
To illustrate a scenario, the blue jay has been used. In this example,
the white of the birds chest is pure white. When saved like this, this
file does not have any means for the automatic-white routine to detect
where the white should be so some areas that should receive white will
not.

|
The original artwork as viewed in a graphics
program.
The background is a solid pure
white, as is the white of the bird's chest and face. |

|

|
Since it does not have a background, we cannot use the “Use
Background” method. Since it does not have a transparent background
we cannot use the “Use Transparency” method. Also, because it
is not a rectangular image we cannot use the “Underbase Entire
Image”. That leaves “100% white under any colored pixel”. The
problem is that since it will only put white under any “colored”
pixel, it will not put any white where the clouds are and in some
areas of the hat. The user could put 1% yellow or cyan in all
these areas and it would work fine but for the purposes of this
demonstration, the underbase will be created and then edited to
be appropriate. |

|

|
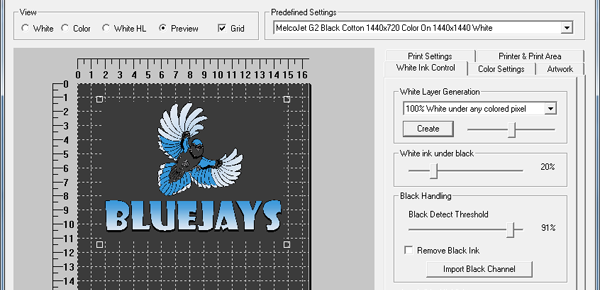
When previewed, the lack of white ink under the bird's chest
and face is evident. To remedy this, the white layer can be exported
and edited in an image editing software. |

|

|
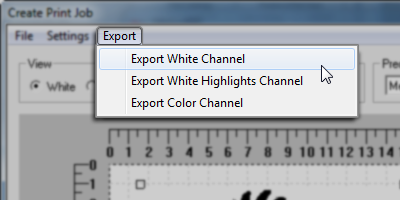
To export the white layer for editing, click
on Export > Export White Channel. |

|
 
|
The exported channel can then be corrected
in an image editing software. Save the changes. |

|

|
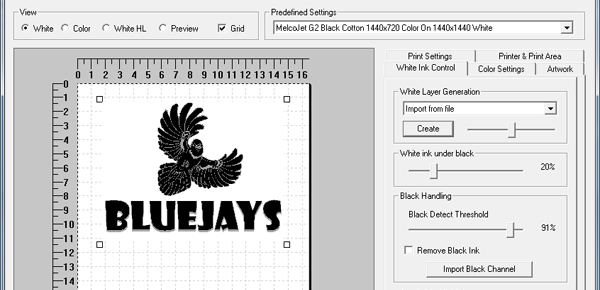
Then, select “Import From File” and import
the edited white back into the job. |

|

|
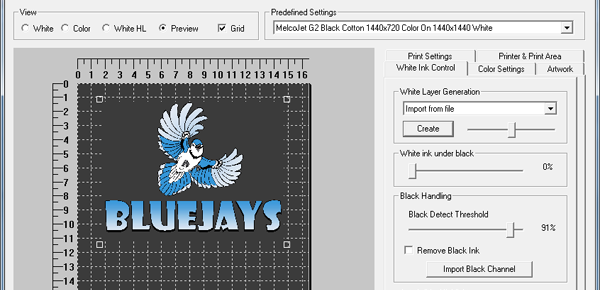
Using the preview view button, an approximation of the final
product can be seen. Now the bird has white on chest and face.
There is no limit on the editing that can be done to the white
layer but it does have to remain the exact size as when it was
exported. |
 By far one
of the most important control sets, particularly in a white-capable product
is the white-ink generation and white ink controls. While creating print
jobs within MelcoRIP, you have the capablity to both automatically or
manually generate white-ink underbases. In addition, the ability to export,
touch-up and import the automatically generated white separation assures
that any artwork scenario can be successfully negotiated using this white
ink feature set.