The Melco G3 uses refillable 160ml cartridges. These cartridges will need to be filled with the appropriate ink prior to inserting them into the printer.
In this section, you will find information on the following:
- Filling the Ink Cartridges
- Inserting the Ink Cartridges Into the Printer
- Removing Ink Cartridges
- Replacing Ink Cartridge Chips
Filling the Ink Cartridges
Do not refill the cartridges while they are inserted into the printer. First remove them from the printer and then proceed with the filling process.
160ml cartridges:
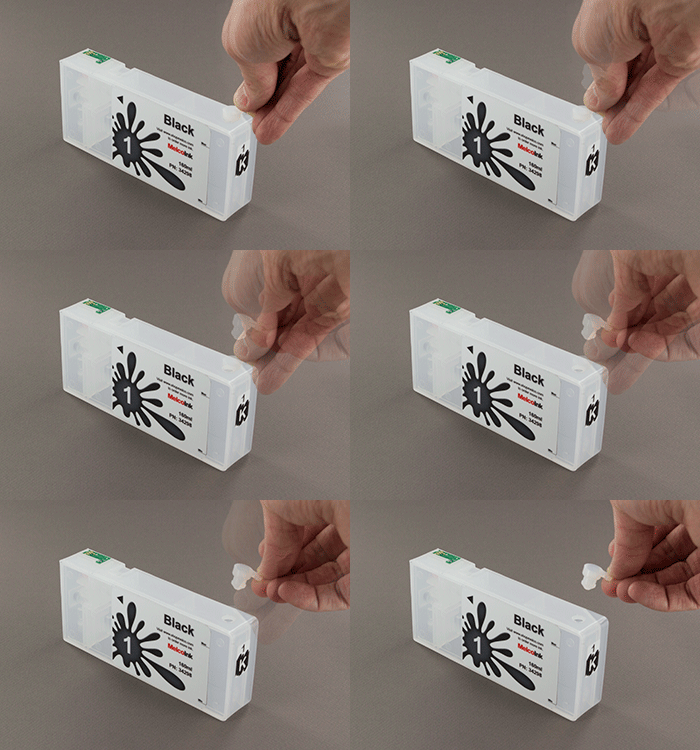
- Remove the rubber seal from the supply hole in the cartridge.
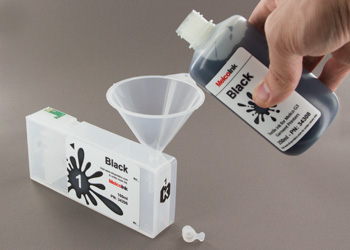
- Use the funnel provided with the printer to fill the cartridge
with its respective ink. It is advised that the ink level
does not exceed 90% of the maximum capacity marked on the
label.
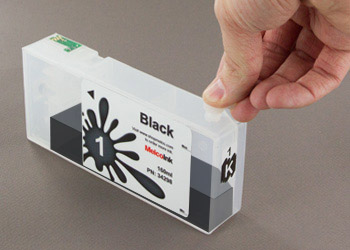
- After filling the cartridge, replace the rubber seal and
ensure that it is fully inserted.
- Completely remove the air supply rubber seal.
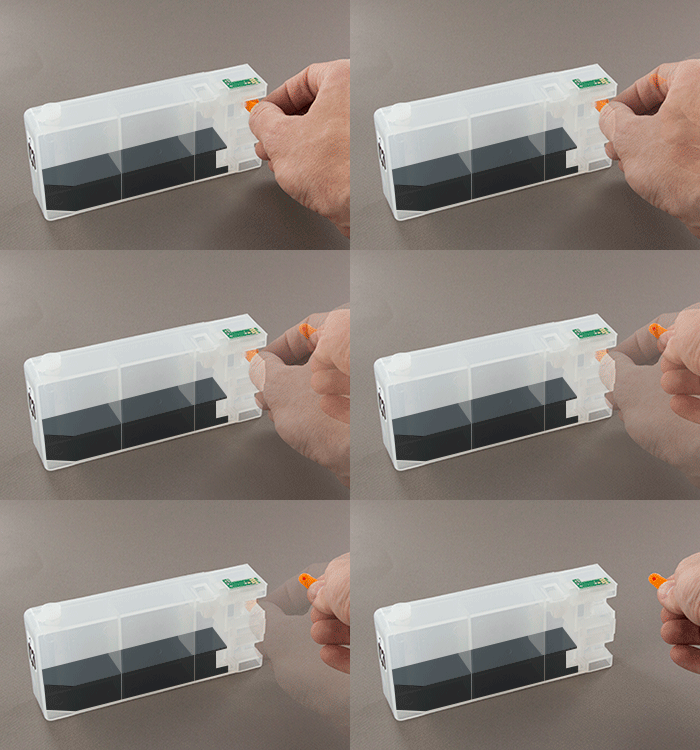
- The cartridge is now filled and ready to insert into the printer.
Inserting the Ink Cartridges Into the Printer
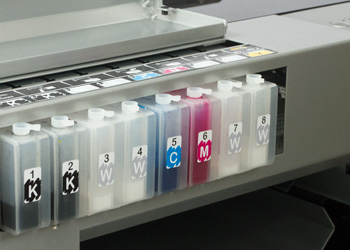
Ink cartridges must be inserted into the appropriate bays for the printer to print colors and underbases appropriately. The correct placement for the ink cartridges is as follows.
Bay 1 |
Bay 2 |
Bay 3 |
Bay 4 |
Bay 5 |
Bay 6 |
Bay 7 |
Bay 8 |
Bay 9 |
Black |
Black |
White |
White |
Cyan |
Magenta |
White |
White |
Yellow |
To install the ink cartridges,
- Lift the ink cartridge cover.
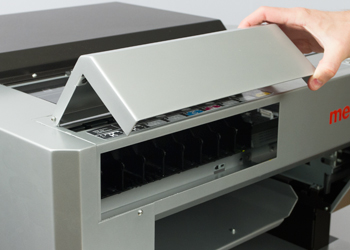
- Slide each cartridge into the appropriate bay as shown
above. Slide into place until you hear a click.
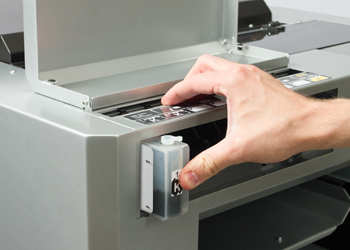
- The ink cartridge(s) is now in place and the cover may be closed.
Removing Ink Cartridges
To remove the ink cartridges from the printer,
- Lift the ink cartridge cover.
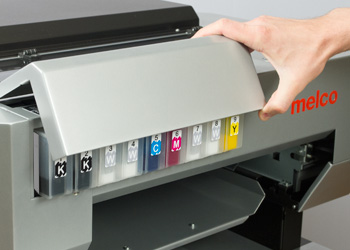
- Remove the rubber seal from the supply hole in the cartridge. (See step 1 from 160ml cartridges)
- Push the release button for the ink cartridge to be removed.
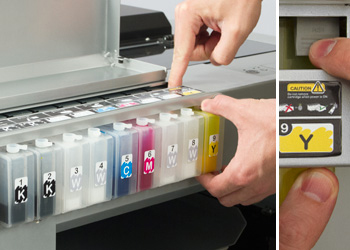
- Gently pull the ink cartridge away from the printer and
free of the bay.
- Replace the rubber seal in the supply hole.
Replacing Ink Cartridge Chips
Should a chip on an ink cartridge cease to function, it can be replaced using the following steps.
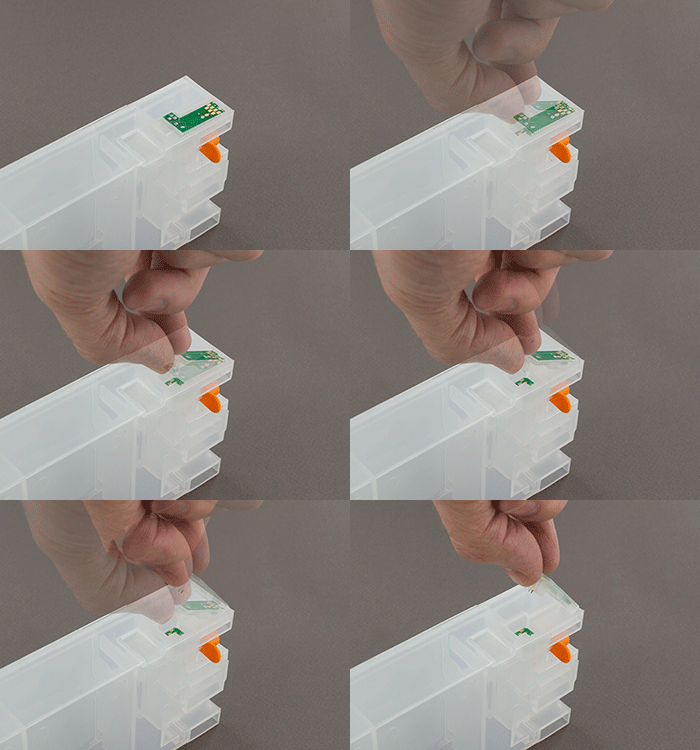
- Detach the removable part on the top of the refillable
cartridge that holds the Auto Reset Chip (ARC) using an object
with a sharp edge.
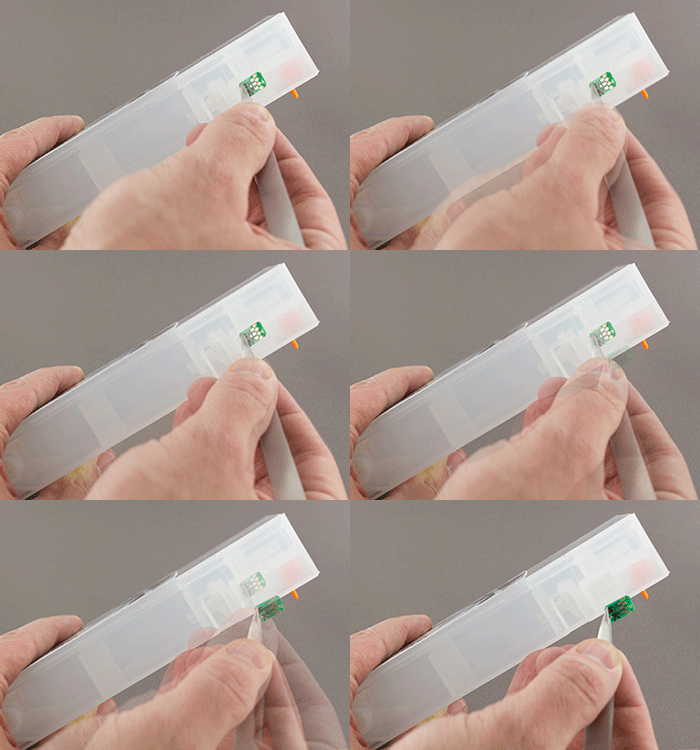
- Remove the original chip from the original cartridge (of
the same respective color).
- Install the original Epson chip in its dedicated place
on the refillable cartridge.
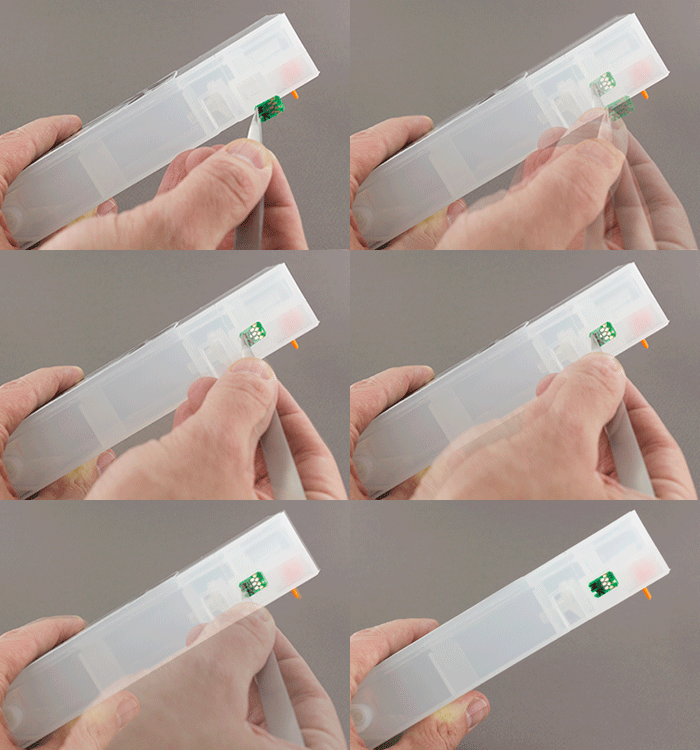
- Attach the removable part that holds the ARC on top of
the original Epson chip.
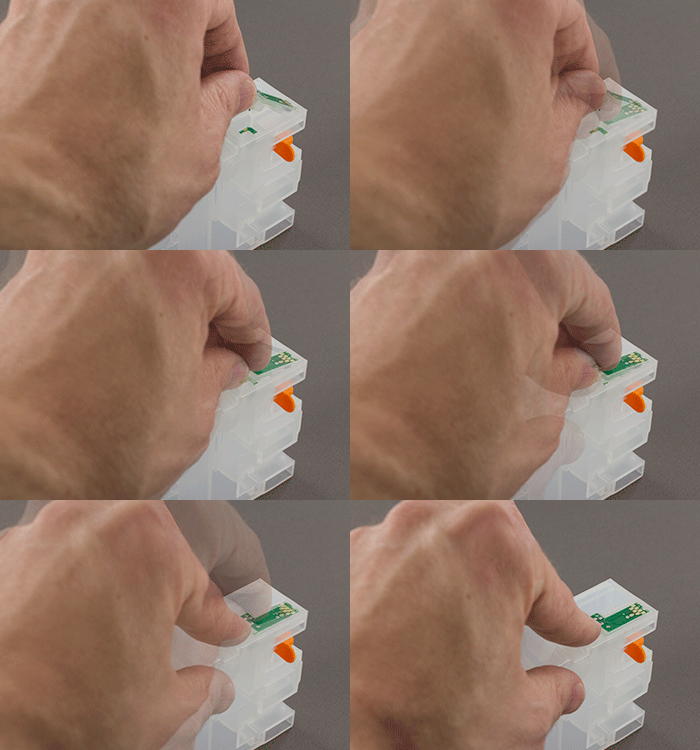
The auto-reset chip resets itself. The user only has to release the cartridge via the release button and then put it back inside. The respective icon on the display showing the ink level should be full.