The process for hooping a cap on the CCF is the same for almost any type of cap you are hooping.
Prepare the Cap
Preparing the cap before it is hooped will help the sew quality and ease the hooping process.
To prepare the cap,
- Remove any cardboard from the inside of the cap.
- Straighten the bill as best you can. It can be reshaped after the embroidery is complete.
- Pull the sweatband to the outside of the cap. Near the back of the cap, the sweatband may be sewn into the cap. At this point, it may need to be folded a bit to fit in the frame.
- If the cap has a braid, move it around the cap to the inside and under the brim.
Hooping the Cap
To hoop the cap,
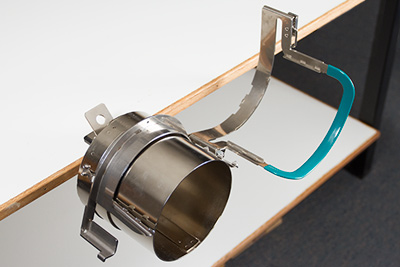
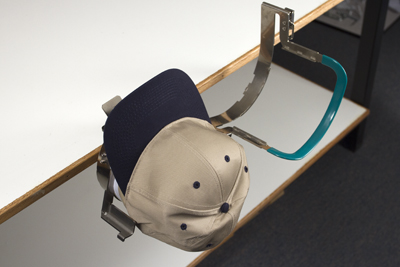
- Slide the cap frame onto the cap gauge. Make sure the locating tab on the cap gauge fits into the cap frame notch and the cap frame slips firmly under the two roller clips. Watch your fingers! Don't pinch them between the back of the frame and the gauge.
- Unlatch the cap frame and swing the frame open and to the right.
- Pull the tab away from the frame.
- Press down on the edge of the frame to free the latch from the hook.
- Swing the frame open.
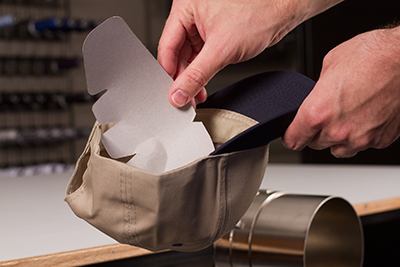
- Place an appropriate backing over the gauge and the teeth of the cap frame. Make sure that the backing is long enough to support the full embroidery area. It may be easiest to use backing long enough to reach the teeth on each side of the cap frame.
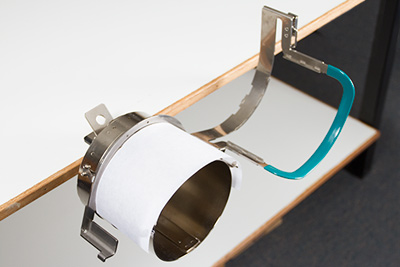
You may find it easier to place the backing inside the cap and load both the backing and the cap onto the frame at the same time. Use what method works best for you.
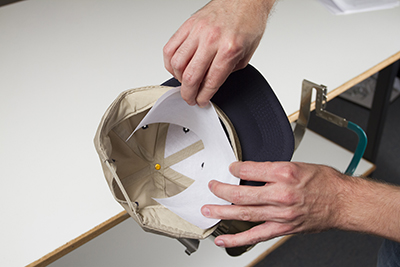
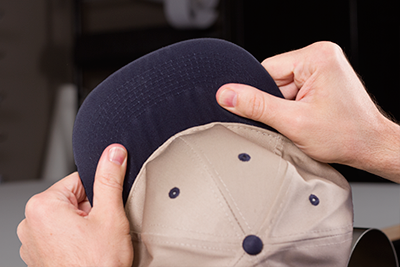
- Slide the prepared cap onto the cap frame with the visor pointing up and the frame going inside the cap. Make sure that the sweatband is flipped to the outside of the cap.
The sweatband may not touch the vertical ridge of the frame. That's okay. Different caps have varying sweatband widths and not all will appear the same when hooped. - The cap and backing should ride over the two posts with teeth on the sides of the frame.
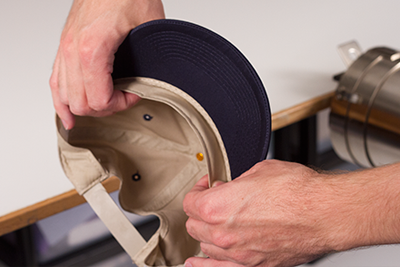
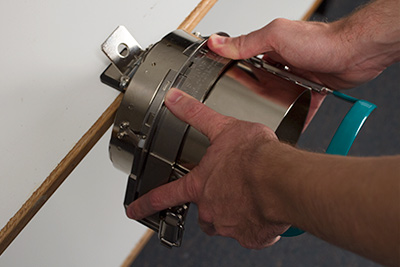
- Begin to close the frame. Insert the cap bill into the slot in the cap frame as you swing the frame closed over the front of the cap.
- With the frame closed but not latched, adjust the position of the cap. Center the seam and level the cap as best you can.
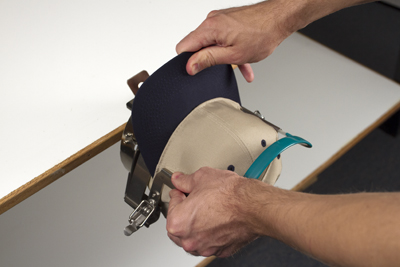
- Gently pull from the back of the cap. This will pull the cap down and snug against the frame.
- With slight pressure still being applied to the back of the cap,
- Push down on the end (top) of the bill to seat it against the top of the cap frame support.
- Push back on the base of the bill to hold it against the plate at the front of the cap frame.
- Push down on the middle top of the cap frame strap to seat it around the sweat band.
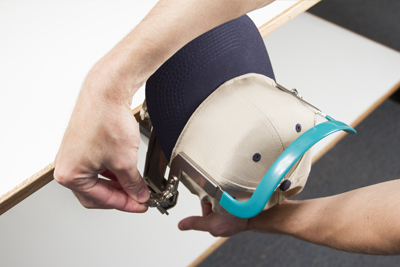
- While holding the cap frame strap down around the sweat band, release the back of the cap and attach the strap latch over the hook on the support. Pull the tab to latch the cap frame.
- You may now remove the cap frame from the gauge by pulling back on the handle.
- The cap is now ready to be placed on the wide angle driver on the machine.