The process for hooping a cap on the XTS WACF is the same for almost any type of cap or visor you are hooping.
Prepare the Cap
Preparing the cap before it is hooped will help the sew quality and ease the hooping process.
To prepare the cap,
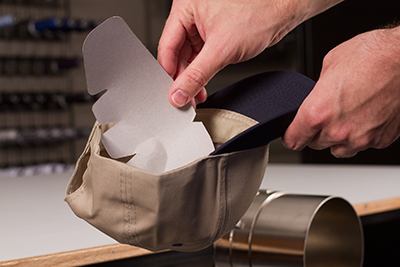
- Remove any cardboard from the inside of the cap.
- Straighten the bill as best you can. It can be reshaped after the embroidery is complete.
- Pull the sweatband to the outside of the cap. Near the back of the cap, the sweatband may be sewn into the cap. At this point, it may need to be folded a bit to fit in the frame.
- If the cap has a braid, move it around the cap to the inside and under the brim.
Hooping the Cap
To hoop the cap,
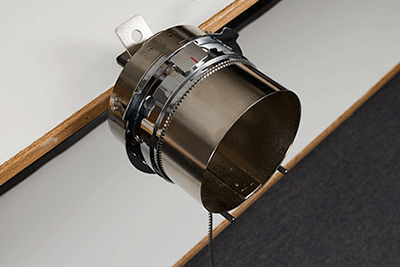
- Slide the cap frame onto the cap gauge. Make sure the locating tab on the cap gauge fits into the cap frame notch and the cap frame slips firmly under the two roller clips. Watch your fingers! Don't pinch them between the back of the frame and the gauge.

- Swing the metal strap open.
-
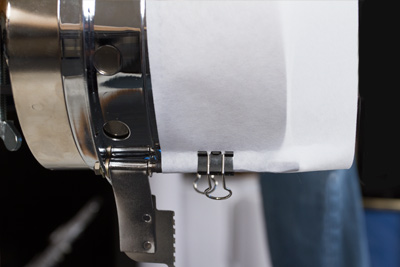
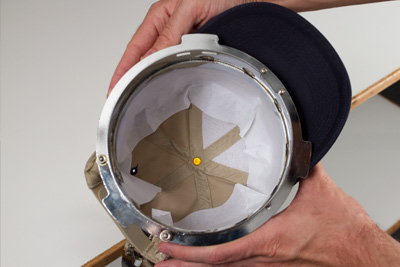
Place an appropriate backing over the gauge and the teeth of the cap frame. Make sure that the backing is long enough to support the full embroidery area. It may be easiest to use backing long enough to reach the posts on the bottom of the cap frame.
 Some people find it easier to use the binder clips to hold the backing while they are hooping the cap. The downside to this technique is that you have to remove the clips from inside the cap when you are done hooping. That isn't always easy.
Clipping the backing before hooping the cap is completely optional.
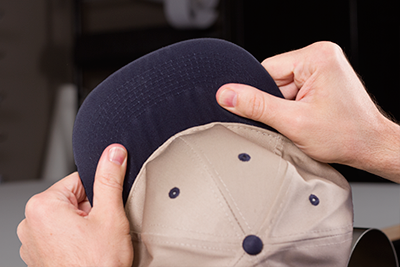
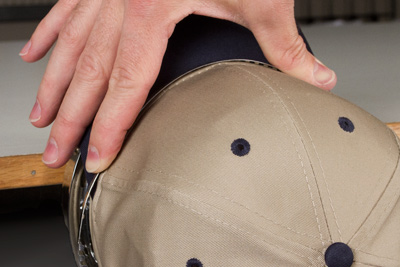
- Slide the prepared cap onto the cap frame with the visor pointing up and the frame going inside the cap. The bill should be pushed against the bill-stop on the frame. The bill should also be relatively centered on the frame. The centering mark on the bill-stop can be used for reference.
The sweatband may not touch the vertical ridge of the frame. That's okay. Different caps have varying sweatband widths and not all will appear the same when hooped.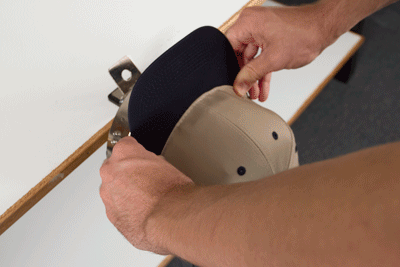
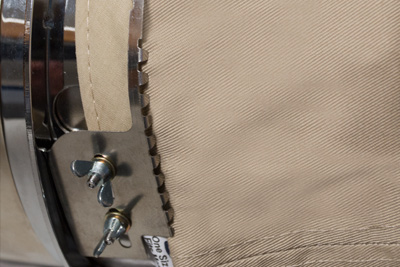
- The cap should ride over the two clip posts toward the bottom of each side of the frame.
- Press down on the bill to ensure that it is falling in the bill trough of the cap frame. This will help keep the cap from slipping around or off the frame when the cap is being sewn.
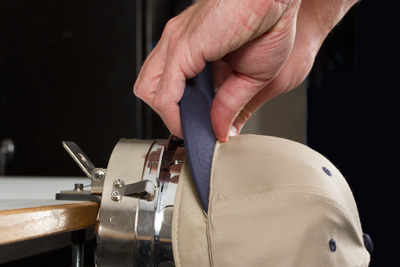
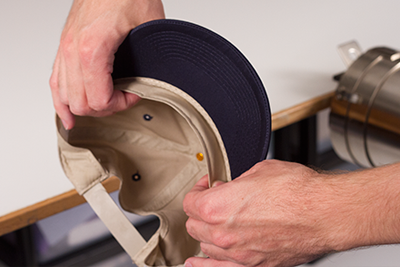
- Pull the side of the sweatband toward the cap frame and down. Smooth any bunching of the cap sides or sweatband. You may eventually need to fold the sweatband a bit to avoid the latching hook. But this will help with the placement of the cap on the frame. As you do this, watch the backing to ensure it is still in place.
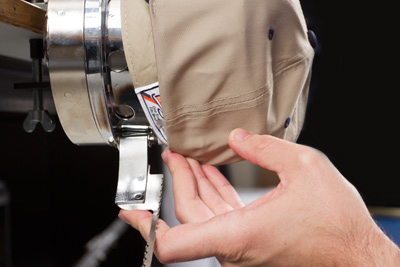
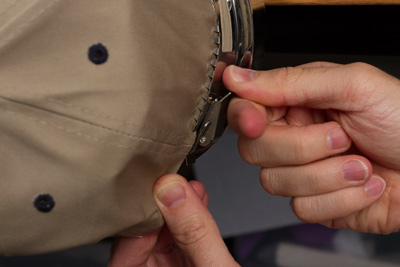
- When the left side of the cap is within the strap hinge post, swing the strap up and over the cap brim. On the side of the cap, the teeth of the strap should fall just above the seam attaching the sweatband of to the cap.
- Continue bringing the strap around the front of the cap. On the front of the cap, the teeth of the strap must fall into the seam for the bill.
- Bring the strap down the other side of the cap. Make sure the teeth of the strap fall just above the stitching attaching the sweat band. This will help ensure a level sewout.
- Hook the latch on the strap into the hook on the latch post. You may need to fold or adjust the sweatband of the cap slightly to accommodate the hook and latch. At this point, you want to hook the latch, but not close the latch.
- The cap frame strap may need to be tightened if it does not fit the cap snugly or loosened should it be too tight to fasten appropriately. This is only necessary when hooping a different style of cap for the first time using the cap frame. Subsequent hoopings of that style should fit well after the adjustment.
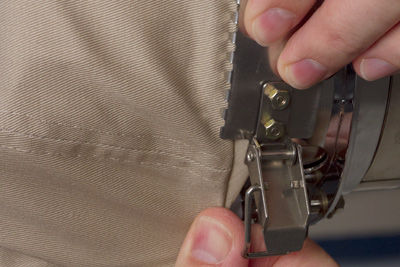
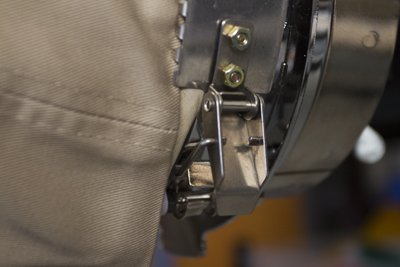
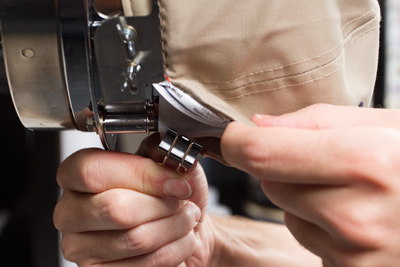
- To adjust the cap frame strap, loosen the two wing nuts on the left side of the frame.
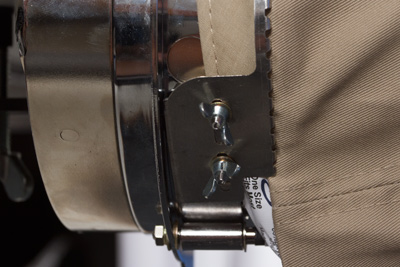
- Then, push the strap down against the cap brim moving from the latch toward the wing nuts so that it is very snug to the cap.
- Slide the strap toward the wing nut to remove the excess.
- Tighten the wing nuts while holding the strap tight against the cap.
- To adjust the cap frame strap, loosen the two wing nuts on the left side of the frame.
- Smooth the lower part of the cap while snapping the buckle closed. The buckle should be tight.
- If clips were used to secure the backing while hooping, remove them now.
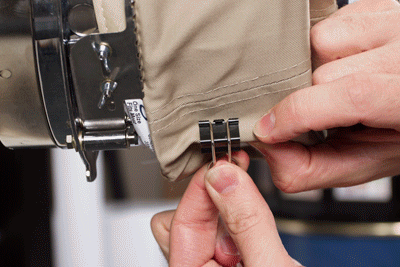
- If sewing on the sides of the cap, smooth the cap material backward and over the clip posts on the both sides. Indent the cap material along the clip posts.
- While pressing the cap material around the post, use a clip to secure the material to the post. Orient the clip handles toward the back of the cap.
These are only necessary when sewing the sides of the cap or if the cap is unstructured. - You may now remove the cap frame from the gauge.
- To do this, place the palms of your hands on the gauge and place your fingers on the frame.
- Pull your fingers toward your palms until the cap frame release from the gauge.
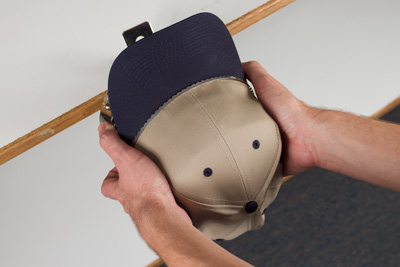
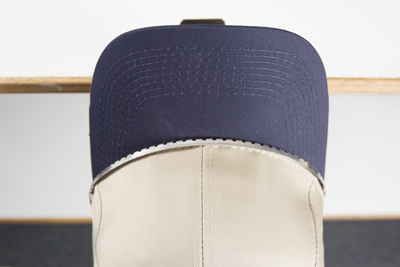
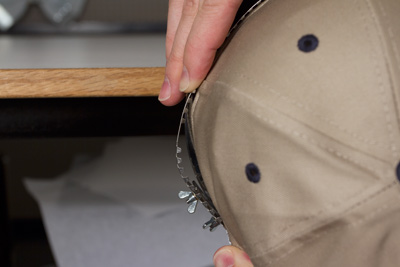
- Inspect the hooping. Look at the inside of the cap to ensure that the backing is not bunched and that it is caught in the teeth of the frame.
- The cap is now ready to be placed on the wide angle driver on the machine.