Adjusting the Hoop Tension
You will need to adjust the tension of the hoop any time you change to a drastically different material. For example, changing from a T-shirt to a sweatshirt would require a change in hoop tension.
- It is best to start with a clean flat working surface. Remove clutter from the area. Do not hoop on an uneven surface or stack of shirts.
- Use an appropriate hoop for your design. For more information, view the "Choosing the Right Hoop" section.
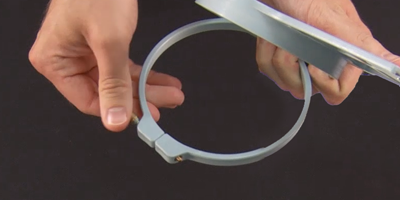
- Loosen the tension on the outer hoop ring by turning the adjustment screw counter-clockwise.
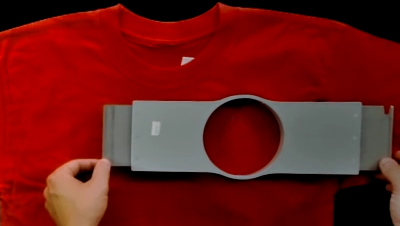
- Place the outer hoop ring inside the garment.
- Slide the appropriate backing between the outer ring and the hoop.
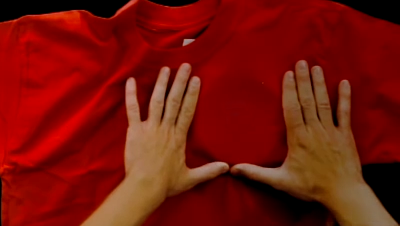
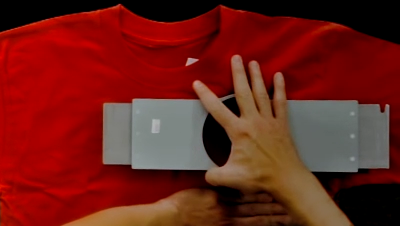
- Smooth the fabric over the hoop.
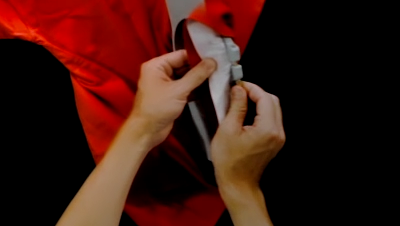
- Gently align the inner hoop with the outer hoop, sandwiching the backing and a single layer of the garment. The mounting brackets should be facing up.
- Press the hoop down and into place. It should go fairly easily. Take care to press on the ring rather than on the arms.
Pressing on the arms can bend the hoop out of shape or break them. - Reach inside the garment and tighten the outer hoop by turning the adjustment screw clockwise. Tighten the hoop to finger-tight.
- Now, without loosening the screw, remove the hoop from the garment.
- Tighten the adjustment screw a turn or two more.
- The outer hoop is now adjusted.
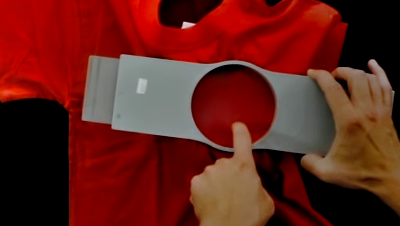
The appropriate tightness of a hoop can be tested by tapping rapidly with moderate pressure on the fabric inside the hoop. By doing this, you can mimic the presser foot of the machine. If material walks into the hoop, the hoop is too loose and needs further adjustment.
Hooping the Garment or Fabric
With the hoop properly adjusted, the garment can be hooped.
- It is best to start with a clean flat working surface. Remove clutter from the area. Do not hoop on an uneven surface or stack of shirts.
- Use an appropriate hoop for your design. For more information, view the "Choosing the Right Hoop" section.
- Place the properly tensioned outer hoop ring inside the garment.
- Slide the appropriate backing between the outer ring and the hoop.
- Smooth the fabric over the hoop.
- Gently align the inner hoop with the outer hoop, sandwiching the backing and a single layer of the garment. The mounting brackets should be facing up. The notch in the mounting bracket will face the machine when the hoop is loaded onto the machine.
- Using the hoop arms as a guide, make sure that the hoop is level to the garment. This will help prevent sewing a design crookedly on a product.
- Press the hoop down and into place. Take care to press on the ring rather than on the arms. Pressing on the arms can bend the hoop out of shape or break them.
- It may be helpful to start by placing one hand at the just off of the outer hoop to stabilize and smooth the fabric.
- Try to hoop in a smooth motion. If the hoop rocks back and forth, extra material will move into the hoop and diminish the quality of the embroidery.
- Do not overstretch the material. Stretching the material will stretch and distort the sew-out. It can also lead to puckering.

- Once the material has been hooped, make sure that the garment is smooth, flat, and taut. If the garment is loose, you may need to remove the hoop and adjust the hoop tension or hooping method.
- Check the back of the hooped piece. Make sure that there are not wrinkles or other parts of the garment hooped.
- As a final step, check the hoop for placement accuracy and straightness.