 Rotate Lettering Video
(Available in all product levels)
Designs, lettering objects, and elements can be easily rotated in the View Window. (If you have DesignShop Pro or DesignShop Pro +, you can also rotate graphics in the View Window). To do this, first select the item you wish to rotate.
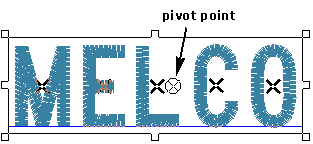
Right-click on the item and select Rotate from the pop-up menu. You will now have a box around your item that looks like this:

To rotate the item, you will use the pivot point in the middle of the
item. You can click and drag the pivot point to have the center of rotation
anywhere that you would like. Once you have determined the center of rotation,
hold the mouse cursor over a corner of the box; you will see the following
cursor  . Left-click,
then drag the cursor to rotate the item.
When you are manipulating an item, all of the stitch information will be automatically filled in to fit the new shape of the item.
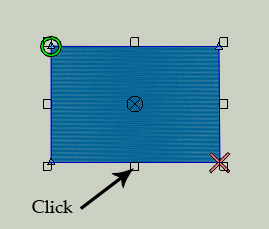
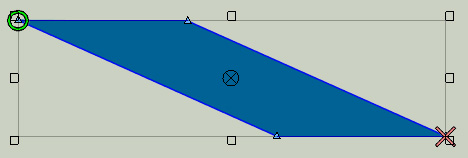
To do this, left-click a selected item. Then left-click and drag any handle (except for corner handles) to slant the item.
You can also rotate using the Position Tab (click here).
To transform an item, use the arrows that appear when you click on the middle boxes of the design. Drag the arrows to transform your object.


NOTE: You can use selection tools to rotate multiple or all items.