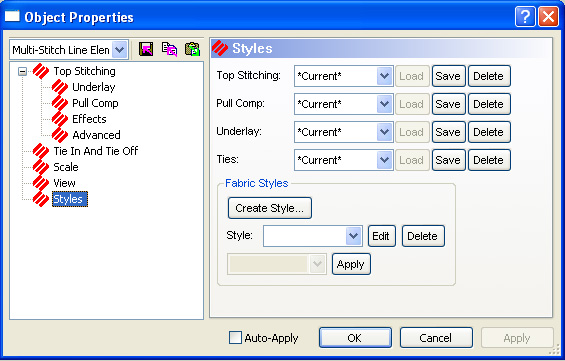
Styles allows you to set a whole range of parameters and then save these settings as a style. This feature is helpful if you sew a lot of denim, for example. It allows you to save a style for denim that can be used with each denim sewing project. There are default styles that come with DesignShop.
A fabric style can be created from any combination of the four tab presets and/or saved styles. The tab parameters that you can specify for each fabric style are Top Stitching, Pull Comp, Underlay, and Ties. You specify the parameters for each of these four sections on their actual tabs to the left of the window. The information on each tab is called Current on the dropdown menus for each parameter. To save the current parameters as a part of a style, click Save. The Create Style dialog appears. Name the parameter and click OK.
For example, you have filled out all the specific information on the Top Stitching tab and want to save that as part of a style. You choose Current from the Top Stitching dropdown on the Styles tab. Then you click Save and name it as "Denim" in the Create Style dialog. Now you have "Denim" as a choice for the Top Stitching parameter in a fabric style. You can do this for the other three tabs as well, naming each of them "Denim" if you choose so that the combination of all four is your Denim fabric style. You do not have to name them all the same name in order to combine them for a fabric style.
Then click Load to load those parameters for your style. The parameters can be seen by clicking on the corresponding tab to the left. For example, after you have loaded a Pull Comp preset, the values are found on the Pull Comp tab to the left. These fields allow you to mix and match the various saved and/or preset styles you have created for each of the four tabs.
To create a new fabric style all at once (filling out all four tabs mentioned above at the same time), click on the Create Style... button and the following dialog appears.
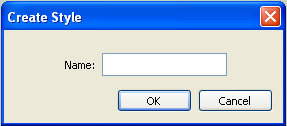
Name the fabric style and click OK.
The Top Stitching dialog appears. Fill in the parameters (Top Stitching, Pull Comp, Underlay, and Ties) for your new style. See Top Stitching for more information.
Click OK.
DesignShop goes back to the Styles tab. The style you created is found in the Styles dropdown.
To edit any style found in the dropdown, choose the style you want to edit and click Edit. This brings you back to the Top Stitching tab.
To delete any style found in the dropdown, choose the style you want to delete and click Delete.
To apply a style, choose a style from the Styles dropdown and then choose Project, Defaults, or Selection from the dropdown below the Styles dropdown and click Apply. The parameters specified for the particular style will be applied to the elements that you chose.